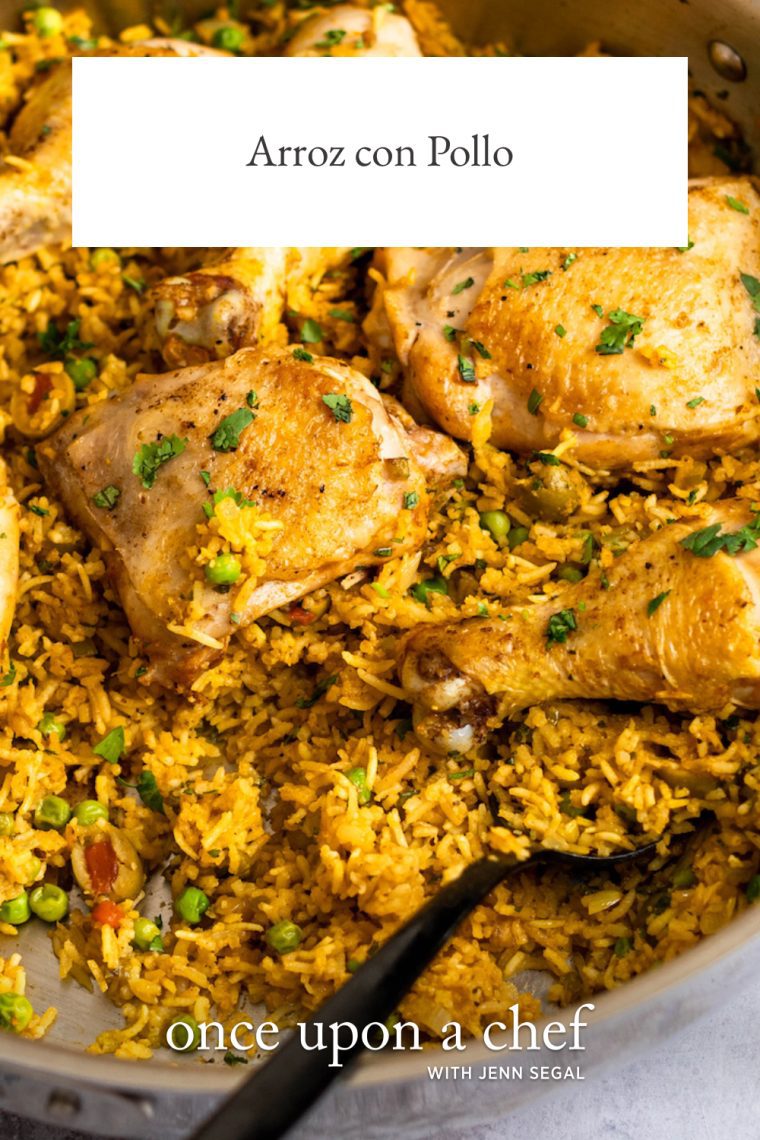
Arroz con Pollo
This post may contain affiliate links. Read my full disclosure policy.
Arroz con pollo is a much-loved Latin American dish that combines seasoned rice, tender chicken, and vegetables in one big pot, making it the perfect meal to feed a crowd or enjoy with family.
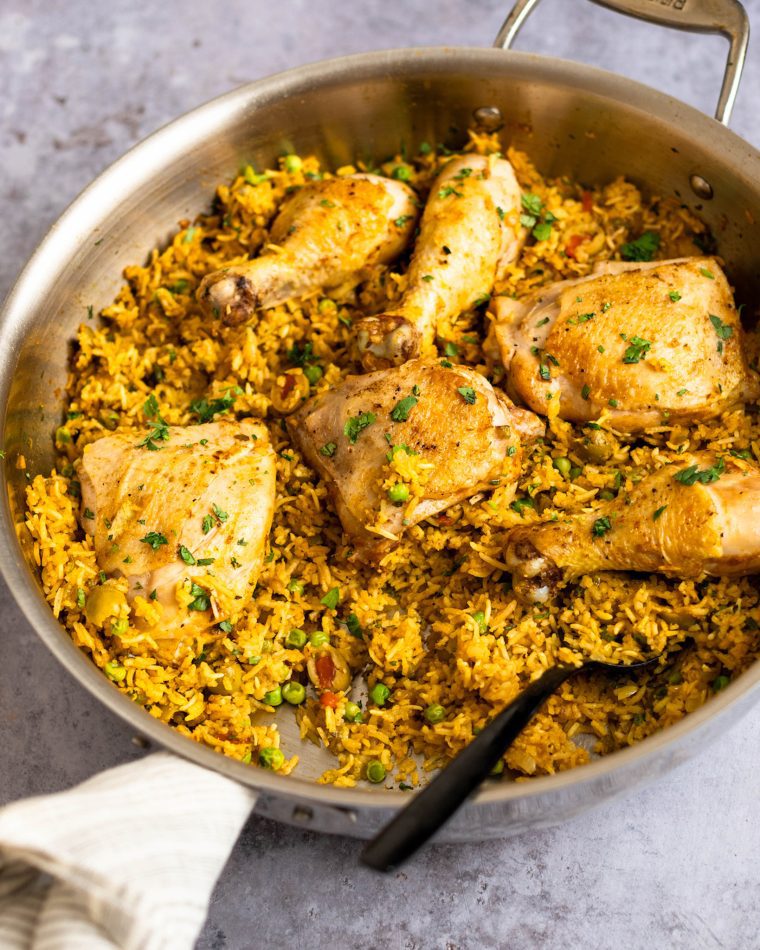
Arroz con pollo, which means “rice with chicken” in Spanish, is a beloved Latin American dish that’s similar to paella. My version is simple to make: start by seasoning and searing bone-in chicken pieces until golden brown, then sauté onions and bell peppers until fragrant and tender. Next, add rice, garlic, and tomato paste and toast everything before covering it with chicken broth, olives, and spices. Return the chicken to the pot and let everything cook in the oven until the rice is tender and the chicken is fully cooked. Finally, mix in peas and fresh cilantro. To serve, you can shred the chicken and mix it in with the rice for a more cohesive dish or leave it whole for a prettier presentation (my family prefers it shredded). Arroz con pollo is a comforting and satisfying meal perfect for feeding a hungry crowd. Serve it with a big salad and a traditional Latin American dessert like flan to complete the meal.
“Just delicious – even my picky eaters loved it. I used my Dutch oven and shredded the chicken and mixed it into the rice. Perfect one-pot meal!”
What You’ll Need To Make Arroz con Pollo
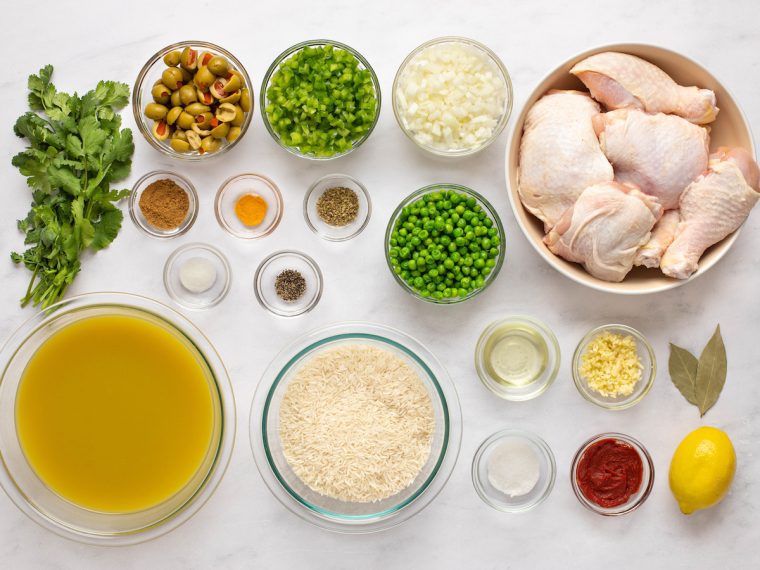
Step-by-Step Instructions
Step 1: Season and Brown the Chicken
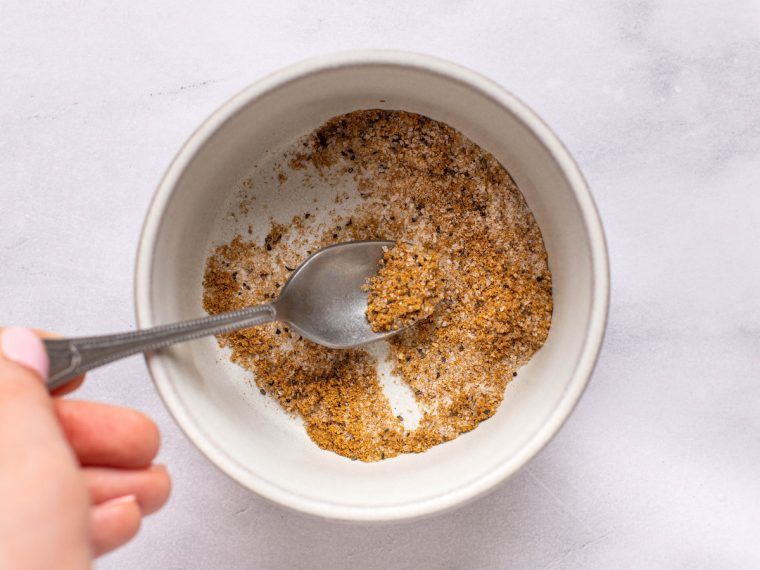
Preheat the oven to 350°F and set an oven rack in the middle position. In a small bowl, mix together 1½ teaspoons salt, pepper, and 1 teaspoon of the cumin.
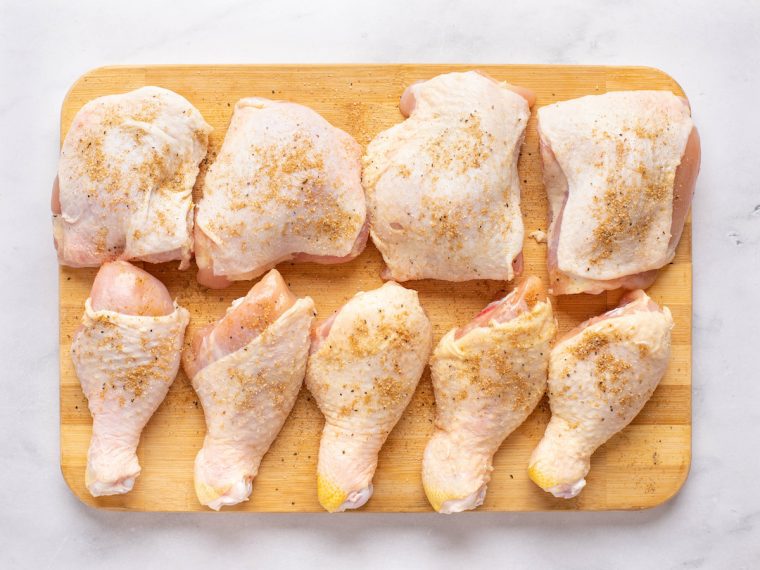
Cut off any excessive fat on the chicken (leaving the skin intact). Blot the chicken with a paper towel and season both sides with the spice mixture.
Heat the oil in a large (5 to 6-qt) Dutch oven or heavy-bottomed, high-sided oven-safe skillet over medium-high heat. Working in two batches, brown the chicken in a single layer until golden and crispy. For thighs, place the chicken skin side down, and sear until golden and crispy, 5 to 7 minutes. Flip and brown on the other side, 1 to 2 minutes more. For drumsticks, sear for 2 to 3 minutes on each side, turning to brown evenly all over.
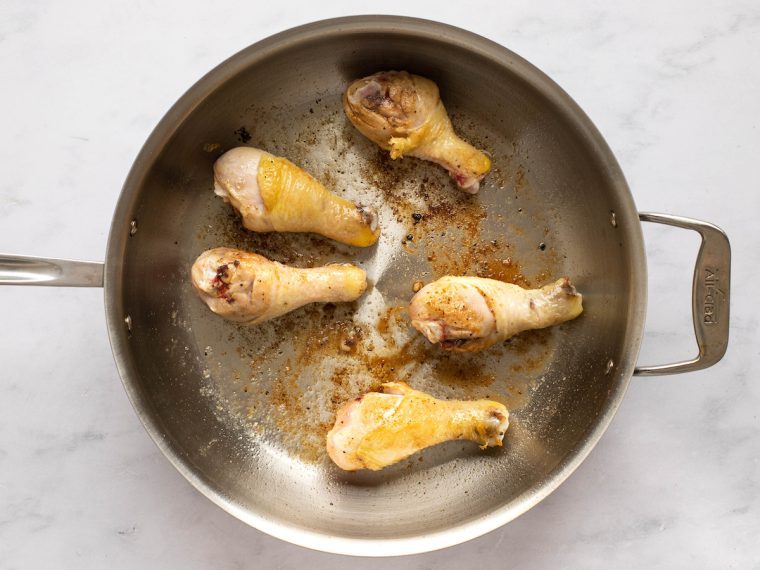
Using tongs, transfer the chicken to a large plate and set aside aside.
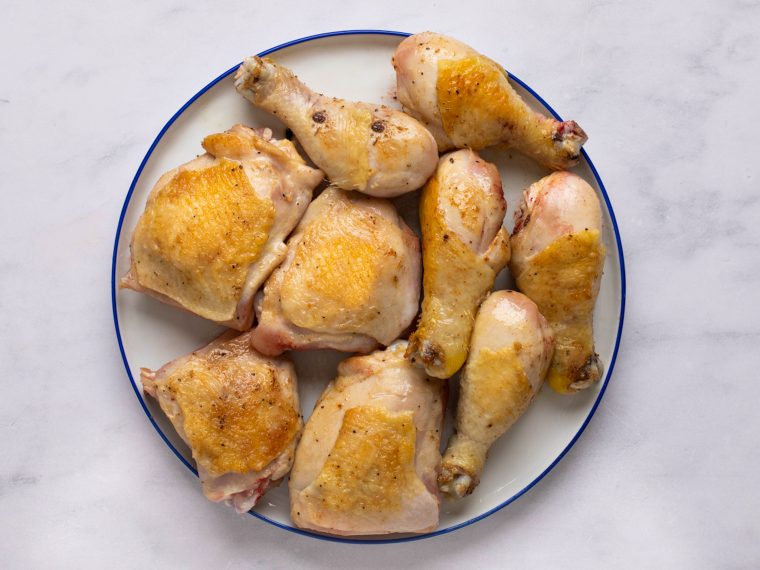
Step 2: Sauté the Vegetables and Rice
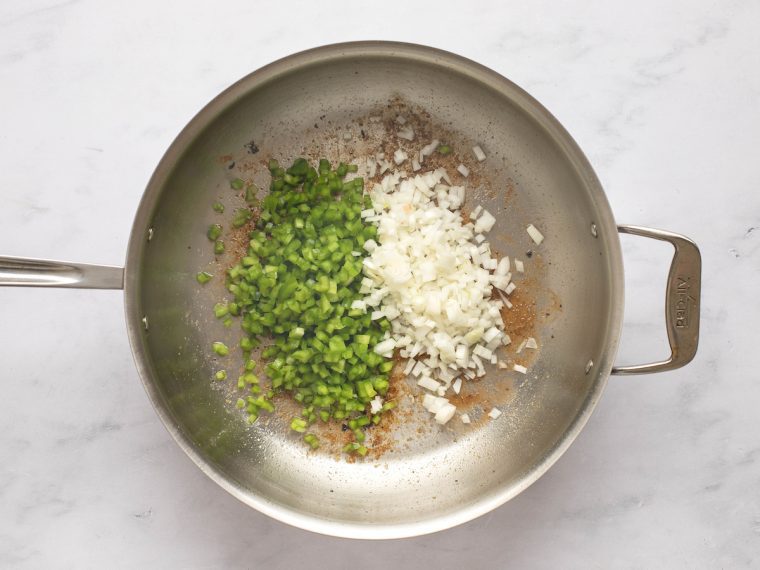
If there is a lot of oil left in the pan, pour off all but about 2 tablespoons of the fat. Return the pot to the stove and reduce the heat to medium-low. Add the onion and bell pepper to the pot and cook, stirring occasionally, until softened, 6 to 8 minutes. As you stir, scrape up any brown bits from the bottom of the pan and mix it into the vegetables.
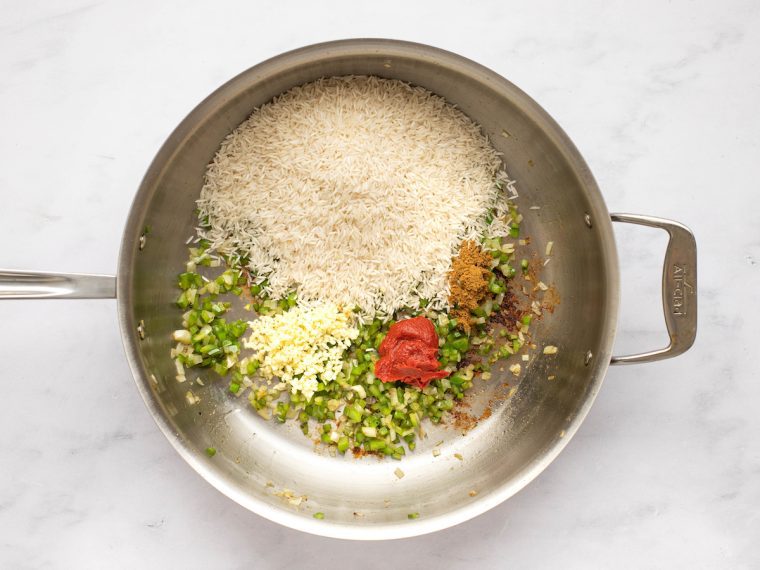
Add the rice, garlic, tomato paste, and remaining 1 teaspoon of cumin; cook, stirring constantly, until fragrant, another 2 to 3 minutes.
Step 3: Add the Broth, Seasoning and Browned Chicken To The Pot
Add the chicken broth, oregano, turmeric, sugar, olives, bay leaves, and remaining 1¼ teaspoons salt.
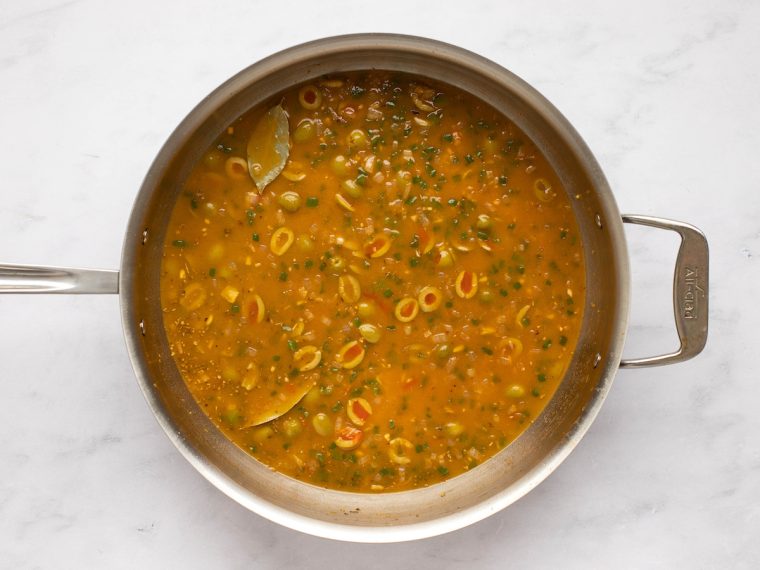
Nestle the chicken on top of this mixture and pour any remaining chicken drippings into the pan as well, and bring to a boil.
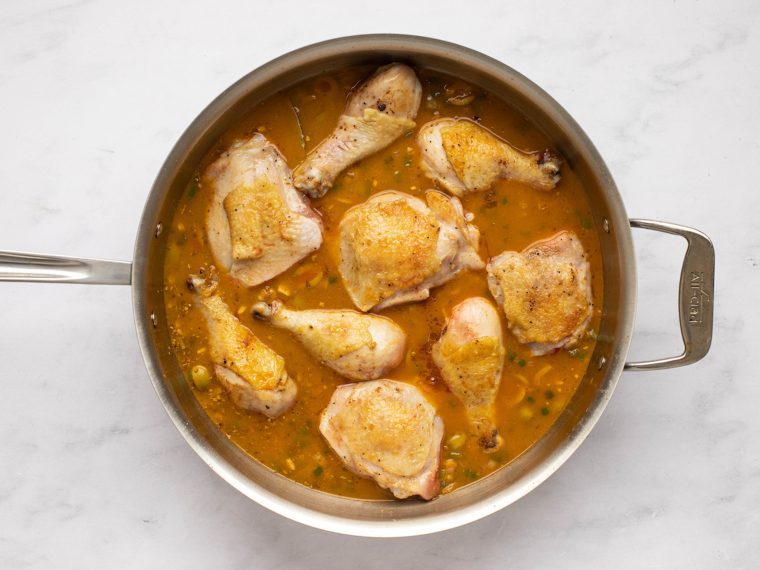
Step 4: Bake
Cover the pot with a lid and immediately transfer to the oven to bake for 35 minutes, or until the chicken registers 175°F on a meat thermometer. Remove the pan from the oven and let sit, covered, on a wire rack or on the stovetop for 10 minutes.
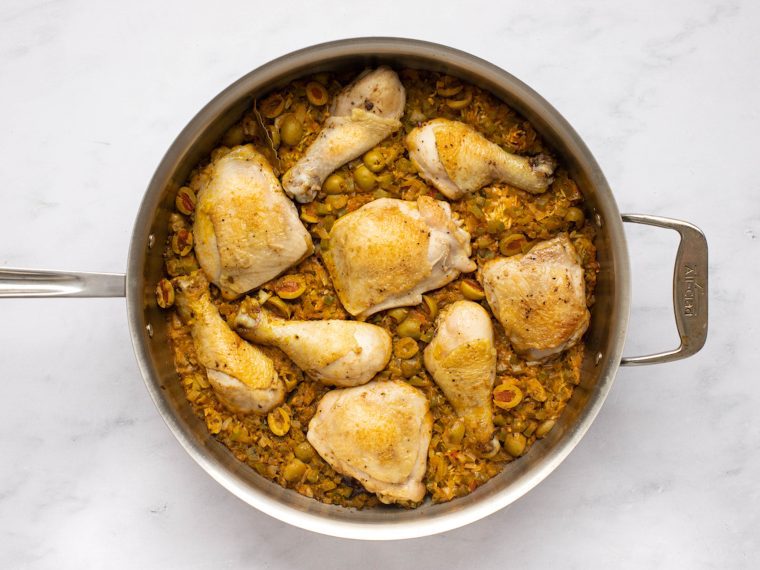
Uncover the pan, and use tongs to transfer the chicken to a plate. Remove the bay leaves, and fluff the rice. Mix the peas and cilantro, if using, into the rice.
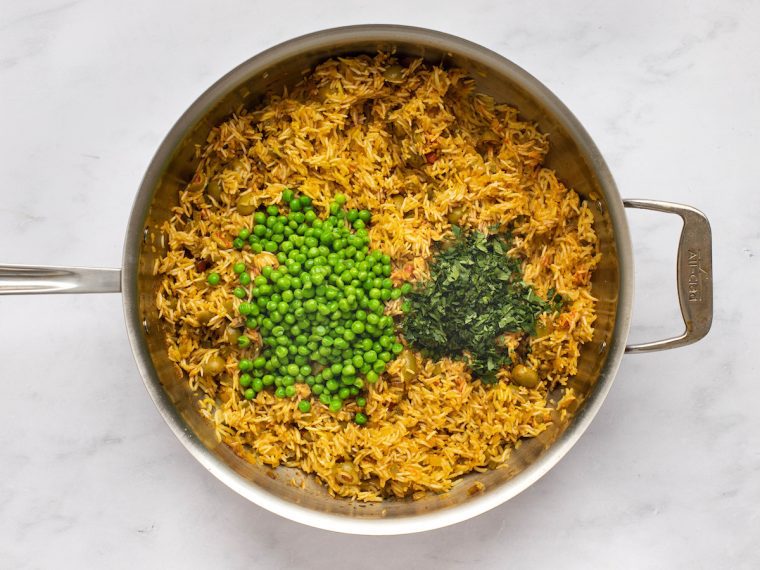
Return the chicken pieces to the top of the rice. Alternatively, remove the skin, pull the meat off of the bones, shred into bite-sized chunks, and mix in with the rice (discard the skin and bones).
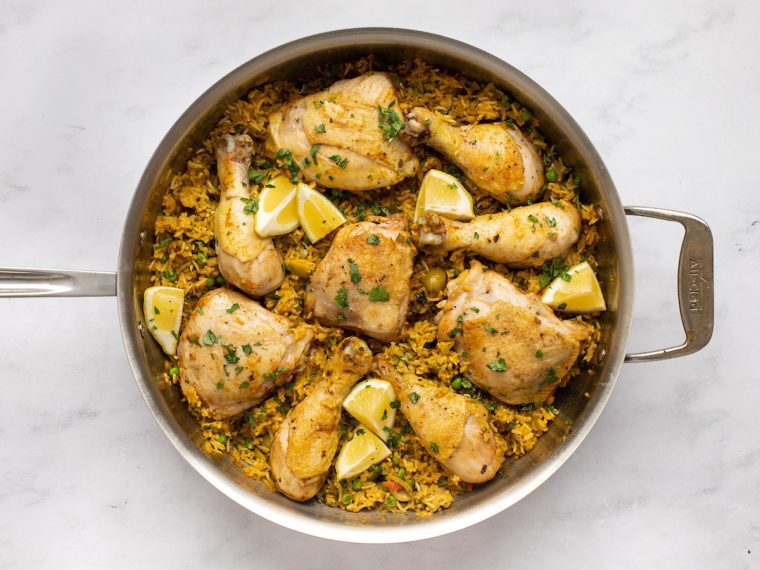
Serve or cover the pan to keep warm until ready to serve.

You May Also Like
- Chicken Quesadillas
- Peruvian-Style Roast Chicken
- Chicken & Quinoa Burrito Bowls with Spicy Green Sauce
- Chipotle Chicken Quesadillas
- Filipino Chicken Adobo
Video Tutorial
Arroz con Pollo
Arroz con pollo is a much-loved Latin American dish that combines seasoned rice, tender chicken, and vegetables in one big pot, making it the perfect meal to feed a crowd or enjoy with family.
Ingredients
- 2¾ teaspoons salt, divided
- ¼ teaspoon ground black pepper
- 2 teaspoons ground cumin, divided
- 3 pounds bone-in, skin-on chicken thighs and/or drumsticks
- 2 tablespoons vegetable oil
- 1 medium yellow onion, finely chopped
- 1 medium green bell pepper, finely chopped
- 2 cups long grain white rice (basmati works very well), rinsed
- 6 cloves garlic, minced
- ¼ cup tomato paste
- Approximately 3½ cups chicken broth (see note about measurement)
- ½ teaspoon dried oregano
- ¼ tsp ground turmeric (may substitute with annatto powder or bijol)
- ½ teaspoon sugar
- ¾ cup drained and halved pimento-stuffed green olives (from a 6-oz jar)
- 2 bay leaves
- 1 cup frozen peas, thawed
- ¼ cup chopped fresh cilantro (optional)
- Lemon or lime wedges, as garnish (optional)
Instructions
- Preheat the oven to 350°F and set an oven rack in the middle position.
- In a small bowl, mix together 1½ teaspoons of the salt, the pepper, and 1 teaspoon of the cumin. Cut off any excessive fat on the chicken (leaving the skin intact). Blot the chicken with a paper towel and season both sides with the spice mixture.
- Heat the oil in a large (5 to 6-qt) Dutch oven or heavy-bottomed, high-sided, oven-safe skillet over medium-high heat. Working in two batches so as not to crowd the pan, brown the chicken. For thighs, place the chicken skin side down, and sear until golden and crisp, 5 to 7 minutes. Flip and brown on the other side, 1 to 2 minutes more. For drumsticks, sear for 2 to 3 minutes on each side, turning to brown evenly all over. Using tongs, transfer the chicken to a large plate and set aside. If there is a lot of oil left in the pan, pour off all but about 2 tablespoons of the fat.
- Return the pot to the stove and reduce the heat to medium-low. Add the onion and bell pepper and cook, stirring occasionally, until softened, 6 to 8 minutes. As you stir, scrape up any brown bits from the bottom of the pan and mix it into the vegetables. Add the rice, garlic, tomato paste, and remaining 1 teaspoon of cumin; cook, stirring constantly, until fragrant, another 2 to 3 minutes.
- Add the chicken broth, oregano, turmeric, sugar, olives, bay leaves, and remaining 1¼ teaspoons salt. Nestle the chicken on top of this mixture and pour any remaining chicken drippings into the pan as well. Bring to a boil, then cover the pot with a lid and immediately transfer to the oven to bake for 35 minutes, or until the chicken registers 175°F on a meat thermometer.
- Remove the pan from the oven and let sit, covered, on a wire rack or the stovetop for 10 minutes.
- Uncover the pan (remember the lid is hot!) and use tongs to transfer the chicken to a plate. Remove the bay leaves, and fluff the rice. Taste the rice to be sure it is fully cooked. (If it still tastes too firm, pour ½ cup water evenly over the rice, and give the rice a quick fluff again. Place the pan on the stovetop over low heat and cook, covered, for an additional 5 to 10 minutes. Uncover and taste to ensure the rice is cooked. Add more water and repeat if necessary.) Mix the peas and cilantro (if using) into the rice. Return the chicken pieces to the top of the rice. Alternatively, remove the skin, pull the meat off of the bones and shred into bite-sized chunks, and mix in with the rice. Serve or cover the pan to keep warm for up to 30 minutes until ready to serve. Serve with lemon or lime wedges.
- Note: Check the instructions on your bag of rice for the proper ratio of rice to chicken broth. My extra long-grain basmati calls for 1¾ cups liquid for every 1 cup of rice, but every brand and type of rice is different.
Pair with
Nutrition Information
Powered by ![]()
- Per serving (6 servings)
- Calories: 662
- Fat: 47 g
- Saturated fat: 11 g
- Carbohydrates: 16 g
- Sugar: 6 g
- Fiber: 3 g
- Protein: 44 g
- Sodium: 1,077 mg
- Cholesterol: 226 mg
This website is written and produced for informational purposes only. I am not a certified nutritionist and the nutritional data on this site has not been evaluated or approved by a nutritionist or the Food and Drug Administration. Nutritional information is offered as a courtesy and should not be construed as a guarantee. The data is calculated through an online nutritional calculator, Edamam.com. Although I do my best to provide accurate nutritional information, these figures should be considered estimates only. Varying factors such as product types or brands purchased, natural fluctuations in fresh produce, and the way ingredients are processed change the effective nutritional information in any given recipe. Furthermore, different online calculators provide different results depending on their own nutrition fact sources and algorithms. To obtain the most accurate nutritional information in a given recipe, you should calculate the nutritional information with the actual ingredients used in your recipe, using your preferred nutrition calculator.
Gluten-Free Adaptable Note
To the best of my knowledge, all of the ingredients used in this recipe are gluten-free or widely available in gluten-free versions. There is hidden gluten in many foods; if you're following a gluten-free diet or cooking for someone with gluten allergies, always read the labels of your ingredients to verify that they are gluten-free.


Another fantastic recipe! Thank you for always inspiring me to try something new. While the total time for the recipe said 1 hr, 15 min, it took me about 2 1/2 hours as it was my first time. I think I’ll get closer to the original when I make it again. I also had to sub tomato paste for 8 oz tomato sauce because I did not have it on hand.
Help! I mistakenly got boil in bag Jasmine Rice! If I boil the rice in chicken broth, then add to the dish with some more broth would this work? If so, how much broth?
I wouldn’t recommend it — sorry (and I hate when I buy the wrong thing at the store)!
Absolutely delicious! I was amazed at how tender the chicken was. I used 8 Chicken thighs. I did the recepie exactly as written. Thank you.
Another great family meal. I really liked the way the chicken flavoured the rice. When I was making it, I thought it would be easier to use boneless, skinless chicken thighs. But it turned out that bone in and skin on really added to the flavour. I wouldn’t change a thing, even though I took the skin and bones out at the end.
Jen, again a wonderful recipe. I made it just as the recipe called for. Question for you, I want to make for my son in law, but he’s not a fan of rice, but loves olives. Is there a substitute for rice to try in this fabulous recipe for him.? Thanks, Ruth
Hi Ruth, You could make the dish with another grain, such as couscous, quinoa, barley, etc., but the quantities and cook time would be different. Hope that helps!
This recipe was a bit of work, but INCREDIBLE!! So much flavor, and well worth the time. Another of many winners from OUAC! One question Jenn, any recommendations on how to keep the chicken skin crispy for presentation and more flavor?
So glad you enjoyed it, Shaynee! The only way to keep the skin crispy is to cook the chicken separately in the oven. The rice won’t have quite as much flavor, but it will still be delicious.
Just fabulous you have done it again always a fan. Greg and Sherry
This recipe sounded wonderful—came together beautifully (well-written recipe)—unfortunately I, and my family, found it extremely bland. Wasn’t bad—just wasn’t tasty enough to want it again.
Just made this for dinner and it was delicious! Highly recommend!
This is great food. Have you ever experimented with Gallo Pinto from Costa Rica or used their condiment Salsa Lizano?
Hi Andy, I’ve had Gallo Pinto but never made it, and I’ve never used Salsa Lizano. I’ll have to give it a try!