Cheesy Stuffed Shells
This post may contain affiliate links. Read my full disclosure policy.
In this classic Italian stuffed shells recipe, there’s no need to parboil the pasta—just stuff, bake, and enjoy!
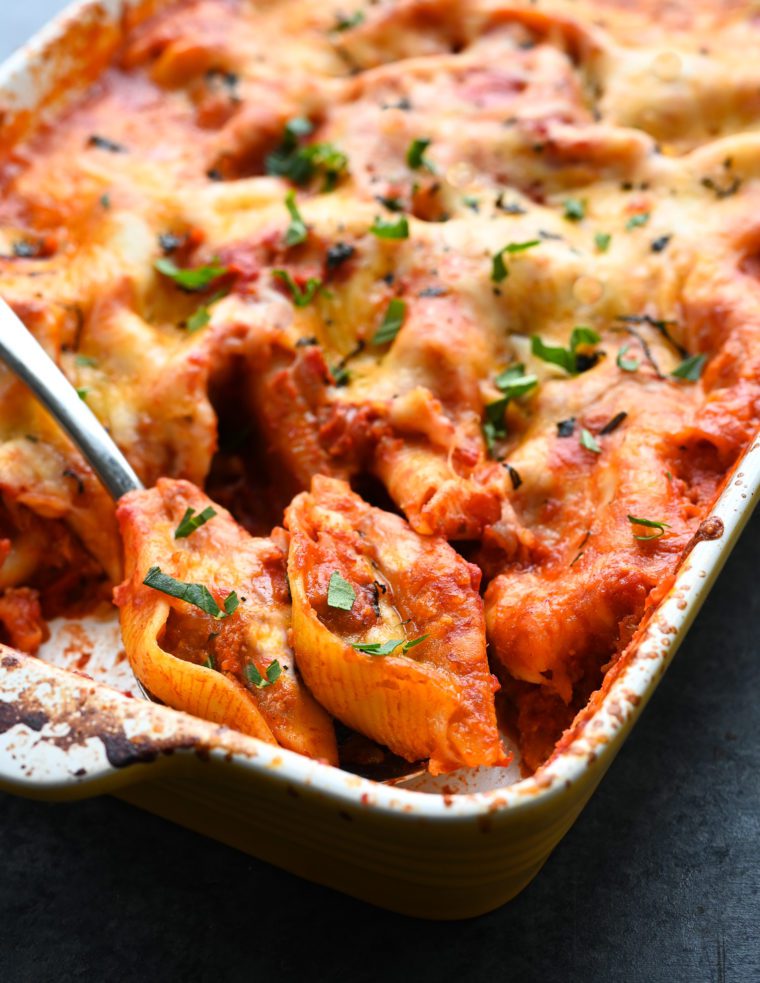
When I think of classic Italian stuffed shells, I think of cozy Sunday night dinners around the table with family, with both adults and kids eagerly diving into their favorite comfort food. This recipe, adapted from Big Flavors from Italian America by America’s Test Kitchen, fits that bill perfectly. The recipe is fairly simple to make because there’s no need to parboil the shells before stuffing them. Instead, the shells are smothered in a thin tomato sauce prior to baking, ensuring the pasta cooks through. The filling is loaded with flavor, thanks to a blend of creamy ricotta, gooey fontina, and salty Pecorino Romano cheeses, as well as garlic, basil, and oregano. Finally, to make the dish even more irresistible, a generous sprinkle of fontina cheese over the shells creates a rich, cheesy topping. Even without any meat, this dish is as satisfying as the heartiest lasagna.
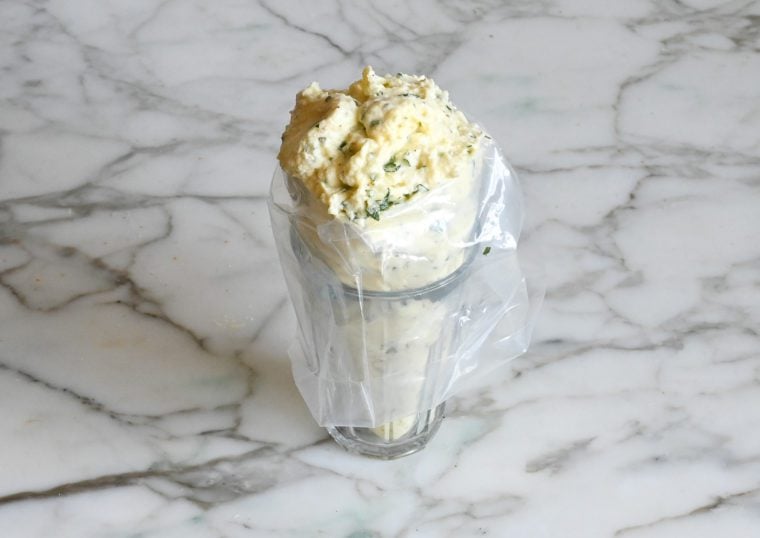
To stuff the shells, disposable pastry bags come in handy (and you can use them for decorating cakes and cookies or filling deviled eggs, too). However, if you don’t have them, a ziplock bag with a snipped corner does the job well.
“Well, this is one of the best Italian-style meals that I’ve ever made. It cooked perfectly and it tasted fantastic! Raves all around for this one.”
What You’ll Need To Make Stuffed Shells
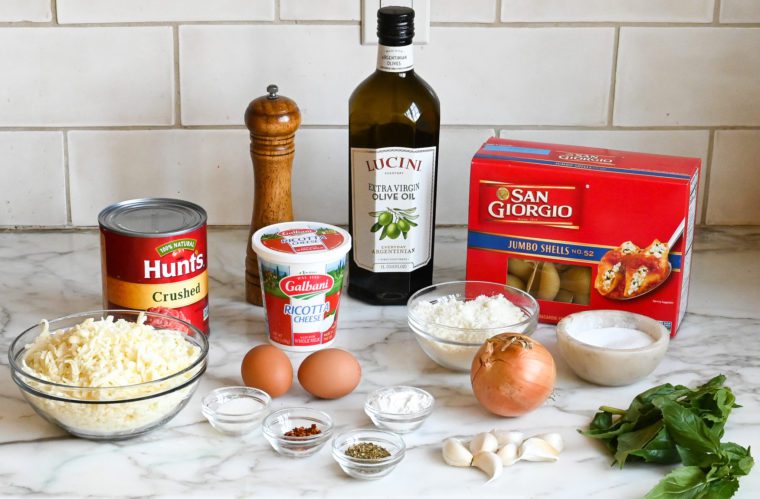
- Extra-Virgin Olive Oil: Used to sauté the onion and garlic, it creates a rich, flavorful base for the sauce.
- Yellow Onion and Garlic: These aromatics build depth and savory notes, making the sauce aromatic and robust.
- Crushed Red Pepper Flakes: Add a subtle kick of heat, balancing the richness of the cheese and tomatoes.
- Crushed Tomatoes: Form the heart of the sauce, providing a thick, velvety texture and fresh tomato flavor.
- Water: Ensures the sauce simmers to the perfect consistency while maintaining balance.Sugar: Adds a touch of sweetness to offset the tomatoes’ natural acidity.
- Ricotta, Fontina or Mozzarella, and Pecorino Romano: Combine to create a creamy, melty, and slightly tangy filling for the shells. Make sure to buy whole milk ricotta for a smooth, creamy texture.
- Eggs: Bind the filling, ensuring it holds its shape and doesn’t ooze out during baking.
- Cornstarch: Stabilizes the filling while keeping it light and smooth for easy piping.
- Fresh Basil and Dried Oregano: The herbs infuse both the filling and sauce with bright and earthy notes.
- Jumbo Pasta Shells: Their sturdy shape holds the rich filling and absorbs the flavorful sauce during baking.
- Jump to the printable recipe for precise measurements
Step-By-Step Instructions
Step 1: Make the Sauce
Heat the oil in a large saucepan over medium heat until shimmering. Add the onion, salt, and pepper.
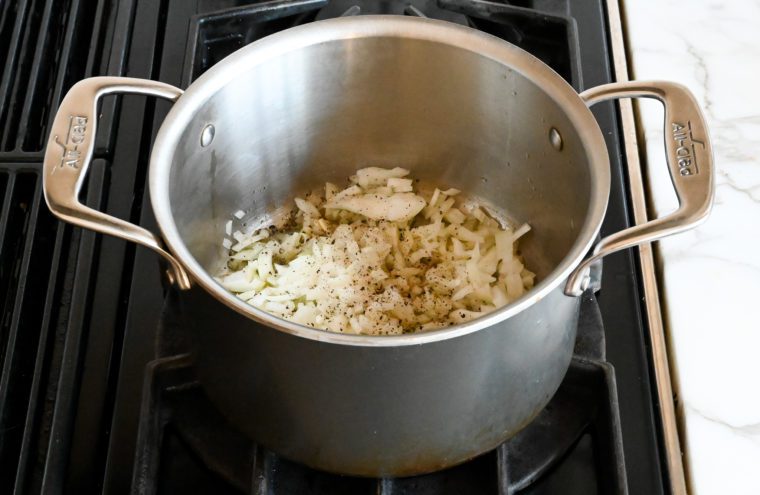
Cook, stirring occasionally, until softened and lightly browned, about 10 minutes. Stir in the garlic and red pepper flakes and cook until fragrant, about 30 seconds (don’t brown the garlic).
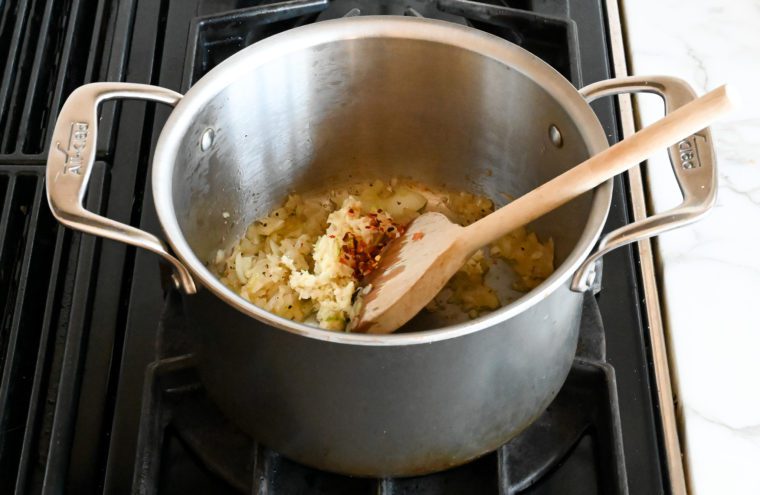
Stir in the crushed tomatoes, water, and sugar and bring to a gentle boil. Reduce the heat to medium-low and cook, uncovered, until flavors have melded, about 5 minutes. (The cooled sauce can be refrigerated for up to 3 days.)
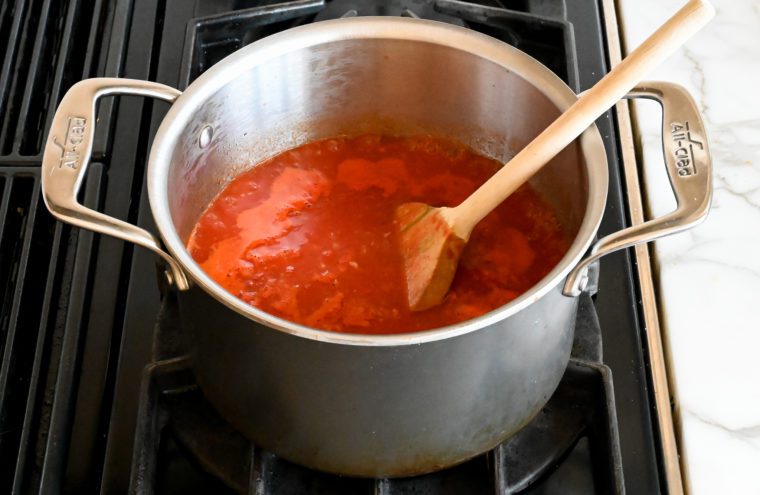
Step 2: Make the Filling
Combine the ricotta cheese, shredded fontina (or whole-milk mozzarella) cheese, Pecorino Romano cheese, eggs, basil, cornstarch, garlic, oregano, and salt in a bowl.
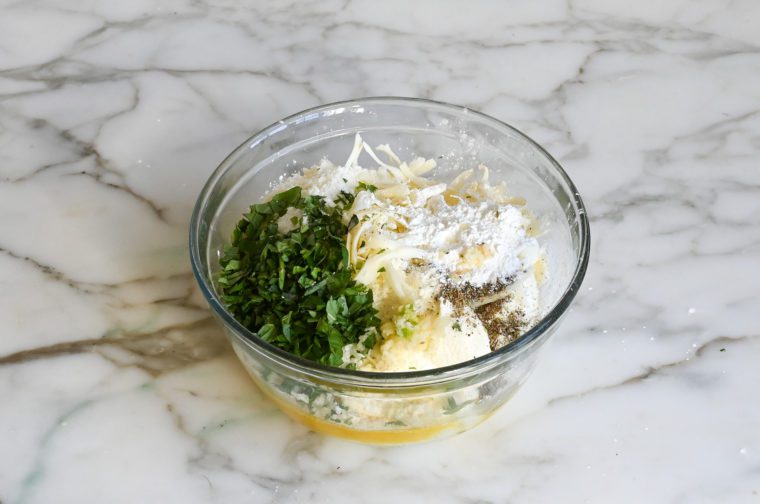
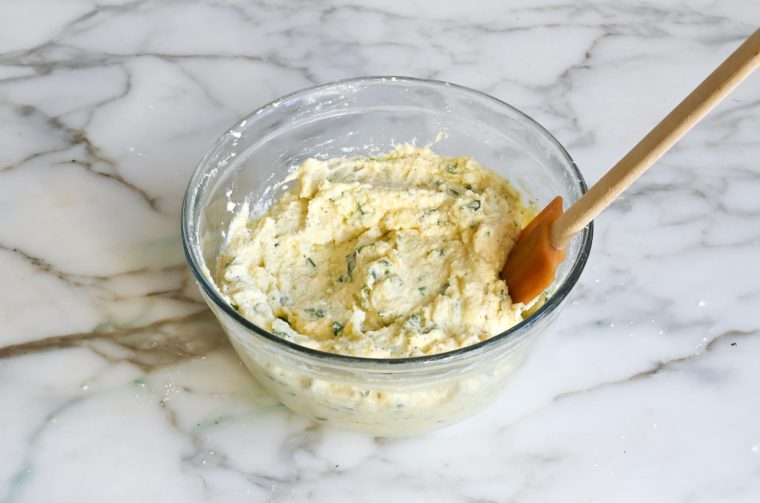
Mix until thoroughly combined.
Transfer the filling to pastry bag or large zipper-lock bag. (If using a zipper-lock bag, be sure the corners are square; the rounded-corner bags are difficult to use.)
Step 3: Stuff and Bake the Shells
Adjust the oven rack to middle position and preheat the oven to 400°F. Place the shells open-side up on the counter. Cut ½-inch off of the tip or corner of the bag.
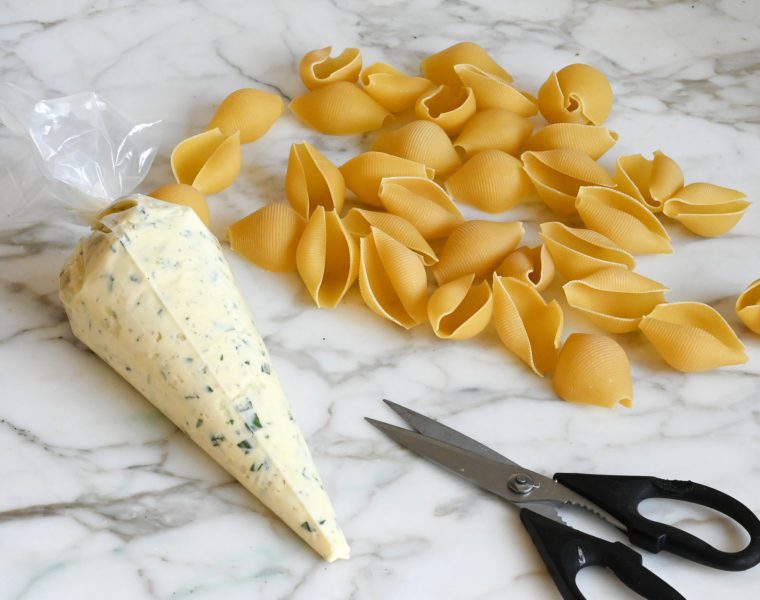 Pipe the filling into shells until each is full.
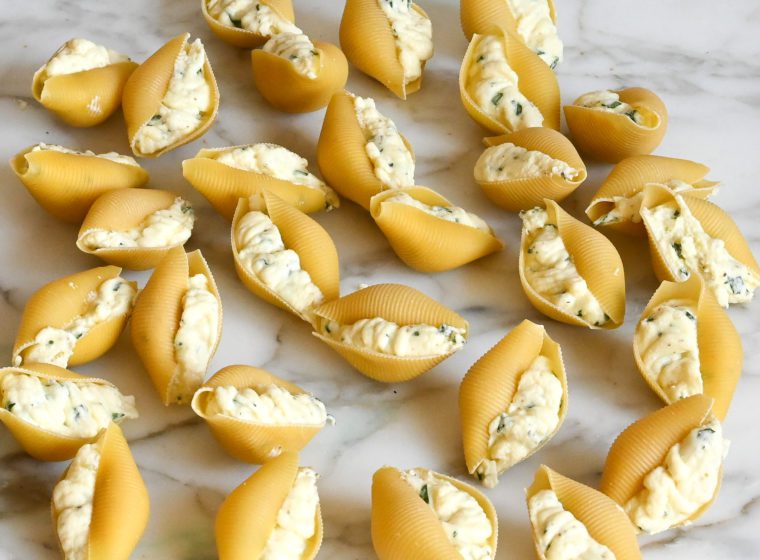
Spread 1 cup of the sauce over the bottom of a 9×13-inch baking dish. Transfer the shells, open side up, to the prepared dish.
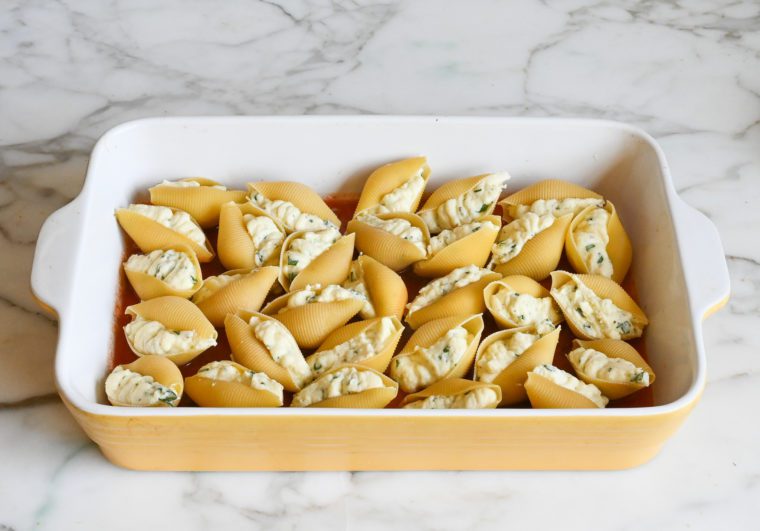
Pour the remaining sauce evenly over the shells to completely cover.
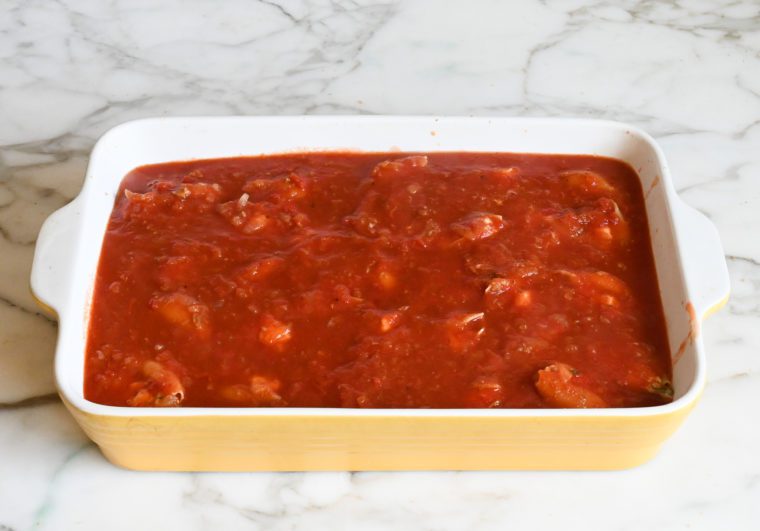
Cover the dish tightly with aluminum foil. Bake until the shells are tender and the sauce is boiling rapidly, about 45 minutes. Remove the dish from the oven and discard the foil.
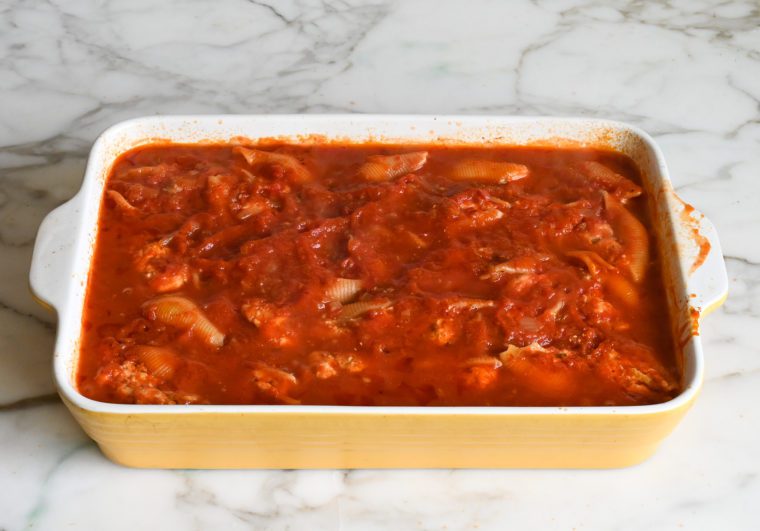
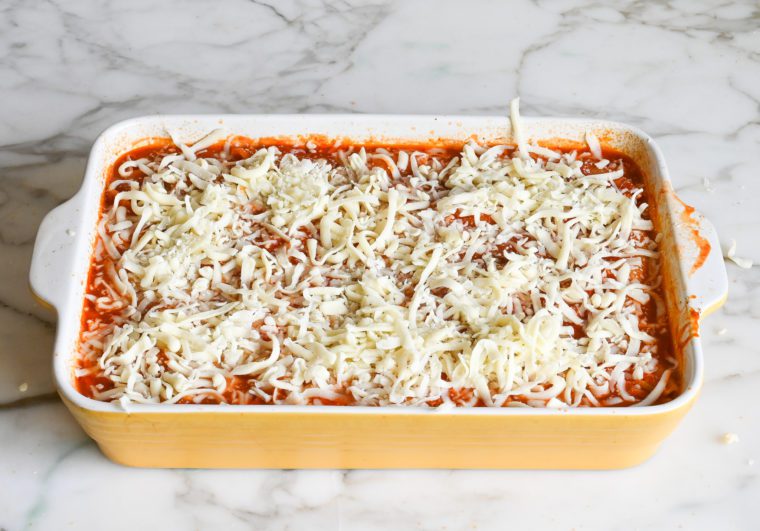
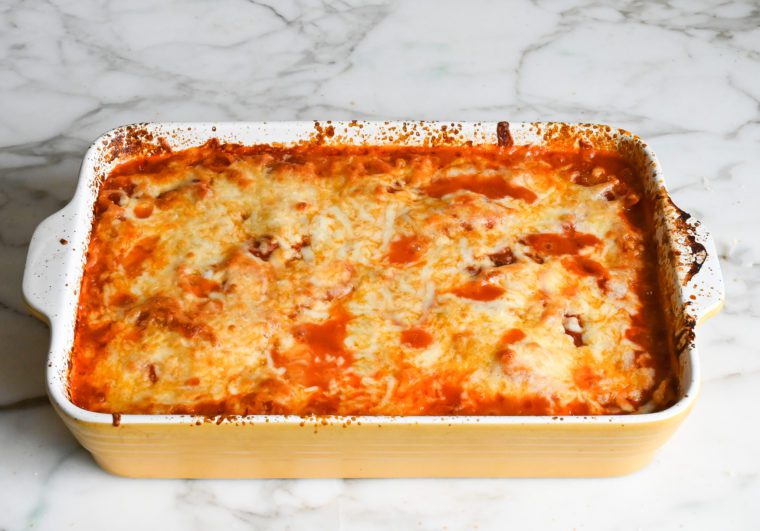
Sprinkle the fontina (or mozzarella) over top. Return to the oven and bake, uncovered, until the cheese is lightly browned, about 15 minutes.
Let the dish cool, uncovered, for 15 to 20 minutes (this rest is essential to fully cook the pasta).
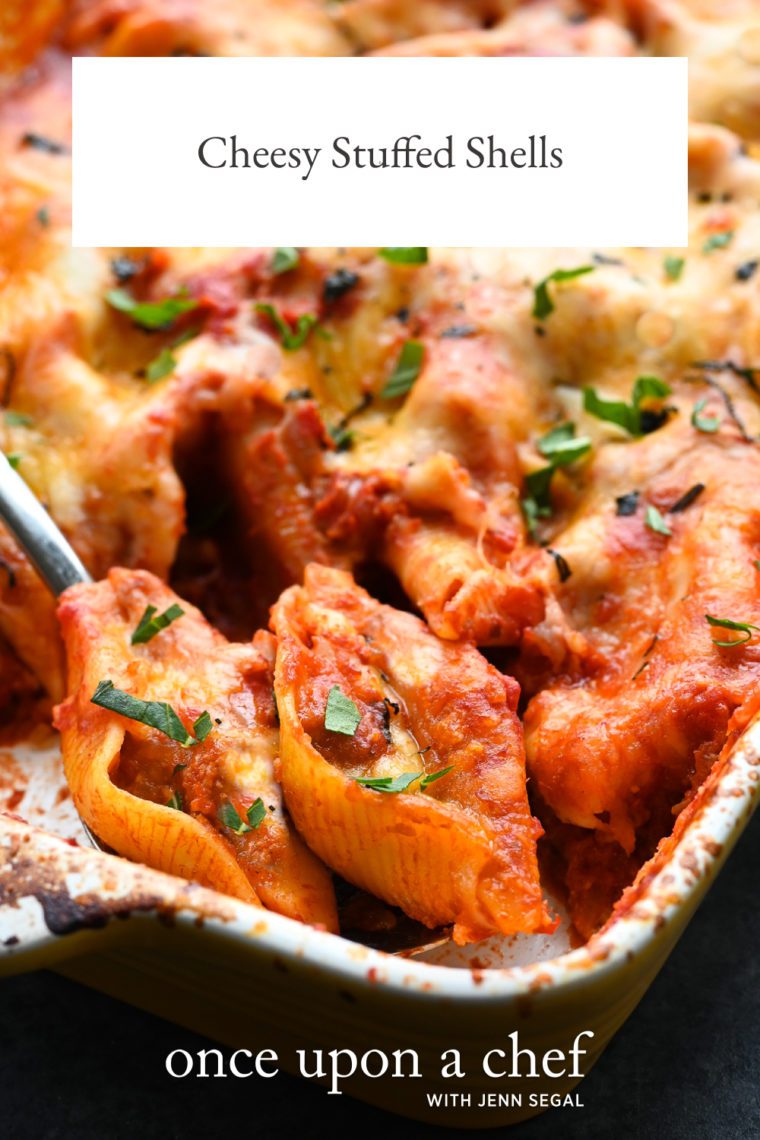
Sprinkle with the basil and serve.
Make-Ahead, Freezing & Storage Instructions
The stuffed shells can be assembled and refrigerated up to 1 day ahead of time, or frozen for up to 3 months. Defrost in the refrigerator for 24 hours, then proceed with the baking instructions in the recipe. You can also freeze leftover stuffed shells; if time allows, thaw before reheating, then cover with foil, and heat in a 325°F (165°C) oven until hot.

You May Also Like
Cheesy Stuffed Shells
In this classic Italian stuffed shells recipe, there’s no need to parboil the pasta—just stuff, bake, and enjoy!
Ingredients
For the Sauce
- 2 tablespoons extra-virgin olive oil
- 1 medium yellow onion, chopped
- ¾ teaspoon salt
- ½ teaspoon freshly ground black pepper
- 4 large cloves garlic, minced
- ¼ teaspoon crushed red pepper flakes
- 1 (28-ounce) can crushed tomatoes
- 2 cups water
- 1 teaspoon sugar
For the Filling
- 1¼ cups (10 oz) whole-milk ricotta cheese
- 1 cup (4 oz) shredded fontina or whole-milk mozzarella cheese
- 1 cup (3.5 oz) grated Pecorino Romano cheese
- 2 large eggs
- 3 tablespoons chopped fresh basil
- 1½ tablespoons cornstarch
- 2 cloves garlic, minced
- 1 teaspoon dried oregano
- ½ teaspoon salt
For the Shells
- 25 to 30 jumbo pasta shells, from a 1-lb box (use only open, unbroken shells)
- 2 cups (8 oz) shredded fontina or whole-milk mozzarella cheese
- 1 tablespoon chopped fresh basil
Instructions
- For the sauce: Heat the oil in a large saucepan over medium heat until shimmering. Add the onion, salt, and pepper and cook, stirring occasionally, until softened and lightly browned, about 10 minutes.
- Stir in the garlic and red pepper flakes and cook until fragrant, about 30 seconds (don’t brown the garlic). Stir in the crushed tomatoes, water, and sugar and bring to a gentle boil. Reduce the heat to medium-low and cook, uncovered, until flavors have melded, about 5 minutes. (The cooled sauce can be refrigerated for up to 3 days.)
- For the filling: Stir all the ingredients in a medium bowl until thoroughly combined. Transfer the filling to pastry bag or large zipper-lock bag, and cut ½-inch off of the tip or corner of the bag. (If using a zipper-lock bag, be sure the corners are square; the rounded-corner bags are difficult to use.)
- For the shells: Adjust the oven rack to middle position and preheat the oven to 400°F. Place the shells open side up on the counter. Pipe the filling into shells until each is full.
- Spread 1 cup of the sauce over the bottom of 9x13-inch baking dish. Transfer the shells, open side up, to the prepared dish. Pour the remaining sauce evenly over the shells to completely cover.
- Cover the dish tightly with aluminum foil. Bake until the shells are tender and the sauce is boiling rapidly, about 45 minutes. Remove the dish from the oven and discard the foil; sprinkle the fontina or mozzarella over top. Return to the oven and bake, uncovered, until the cheese is lightly browned, about 15 minutes. Let the dish cool, uncovered, for 15 to 20 minutes (this rest is essential to fully cook the pasta). Sprinkle with the basil and serve.
- Make-Ahead/Freezing Instructions: The stuffed shells can be assembled and refrigerated up to 1 day ahead of time, or frozen for up to 3 months. Defrost in the refrigerator for 24 hours, then proceed with the baking instructions in the recipe. Leftover stuffed shells can also be frozen; if time allows, thaw before reheating, then cover with foil, and heat in a 325°F oven until hot.
Pair with
Nutrition Information
Powered by ![]()
- Per serving (8 servings)
- Calories: 563
- Fat: 26 g
- Saturated fat: 13 g
- Carbohydrates: 56 g
- Sugar: 8 g
- Fiber: 4 g
- Protein: 28 g
- Sodium: 783 mg
- Cholesterol: 121 mg
This website is written and produced for informational purposes only. I am not a certified nutritionist and the nutritional data on this site has not been evaluated or approved by a nutritionist or the Food and Drug Administration. Nutritional information is offered as a courtesy and should not be construed as a guarantee. The data is calculated through an online nutritional calculator, Edamam.com. Although I do my best to provide accurate nutritional information, these figures should be considered estimates only. Varying factors such as product types or brands purchased, natural fluctuations in fresh produce, and the way ingredients are processed change the effective nutritional information in any given recipe. Furthermore, different online calculators provide different results depending on their own nutrition fact sources and algorithms. To obtain the most accurate nutritional information in a given recipe, you should calculate the nutritional information with the actual ingredients used in your recipe, using your preferred nutrition calculator.

This was delicious!! I followed the recipe as written. The noodles were cooked perfectly…no need to parboil the shells….very easy to stuff the shells using the ziplock bag method….leftovers were equally delicious and did not dry out.
If assembling the night before do you put stuffed shells in pan and cover with sauce? Or wait to cover with sauce until right before baking? Can’t wait to make!
Hi Adina, You fully assemble it — sauce and all. Hope you enjoy!
Tasty! But the end result was rather mushy and the shells sort of fell apart. Still, we gobbled it up! I think I’d be inclined to just make lasagna next time, as the ingredients are basically the same.
I can’t find the shells either so if using Manicotti instead- do we parboil the noodles before stuffing them ( like you do in your spinach stuffed Manicotti recipe)?. And if you do have to parboil the Manicotti, do you bake them for a shorter time?
No, you shouldn’t need to parboil the noodles as like the shells, the pasta will cook in the sauce. Hope you enjoy!
Once again Jenn, your recipes were received with rave reviews! I served these stuffed shells with your Parm Crusted Chicken and everyone loved both! I was able to prepare both dishes ahead of time which makes it super easy when entertaining large groups! A side of roasted veggies and a large Caesar salad completed the meal. Oh and then I topped it off with your Tiramisu….DELICIOUS!! Thank you for the care you take in developing these mouth watering recipes!
Thank you so much for all the wonderful recipes! If I freeze this, should I pour the tomato sauce over the stuffed shells and then freeze (with the sauce on the shells) OR should I freeze the stuffed shells (without sauce) and then pour the sauce over just before baking? Thank you!
Hi Pam, so glad you like the recipes! yes, you can freeze the shells with the sauce. 🙂
Hi, Jenn!
Recipe sounds great! Can this dish be made for an outdoor potluck? Concerned about how long it’s safe for the cheese filling to sit outside?
Hi Elise, I really don’t recommend this for an outdoor potluck. I think it’s best served hot. Also, I’m concerned the cheese on top would kind of harden/congeal. If you’d like a pasta dish for a potluck, I’d suggest either this pesto pasta salad or pasta primavera which is good cold. Hope that helps!
Hi Jen, I’m almost ready to fill the manicotti shells, but then I realized the box is only 8oz (14 shells). The shells mostly fill up a 9×13 baking dish, but do I need to buy another box to make it a pound total?
Hi Sarah, the filling won’t fit in 14 shells, so (I know it’s a pain but…) I’d get another box.