Marbled Peppermint Bark
This post may contain affiliate links. Read my full disclosure policy.
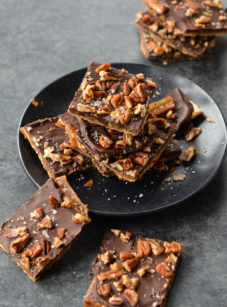
With swirls of semi-sweet and white chocolate sprinkled with crushed candy canes, peppermint bark makes a festive holiday treat.
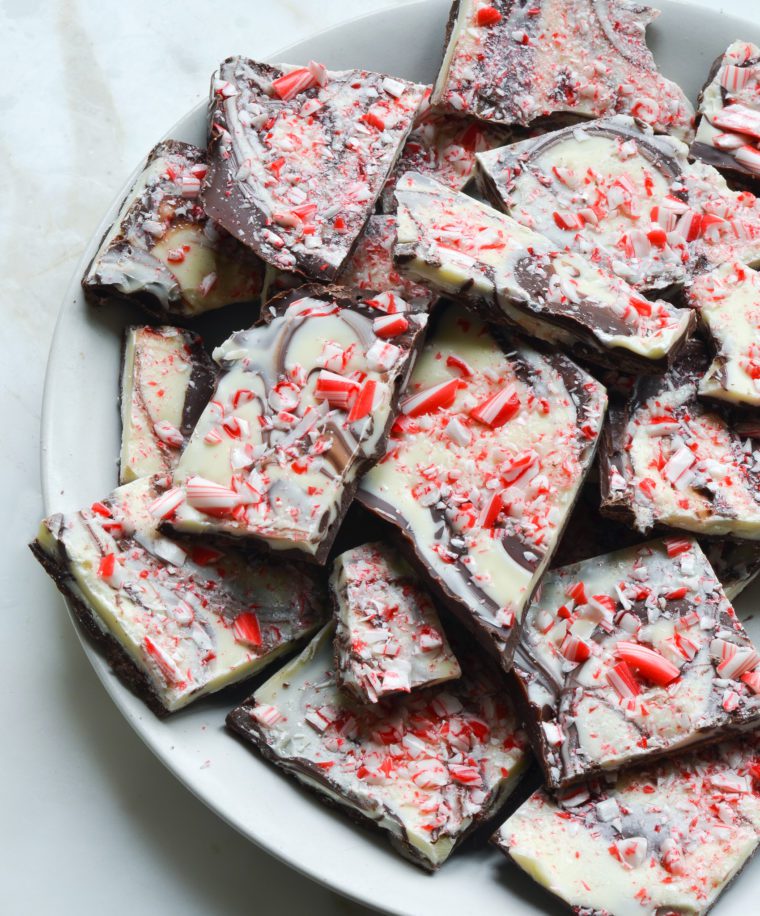
If you’re looking for a homemade Christmas gift that’s super quick and easy, look no further than the marbled peppermint bark from America’s Test Kitchen. With swirls of semi-sweet and white chocolate sprinkled with crushed peppermint candies, it makes a festive treat. And when I say the recipe is super quick and easy, I’m not exaggerating. It was created for the America’s Test Kitchen kids website for children ages 5 to 8, has just three ingredients, and is made entirely in the microwave. Marbling the chocolate not only looks pretty but also prevents the layers of semi-sweet and white chocolate from separating when cut (a common pitfall when making homemade peppermint bark).
“I love, love, love this easy peppermint bark. Not only is it super easy to make, my grandchildren couldn’t get enough of it.”
What You’ll Need To Make Marbled Peppermint Bark
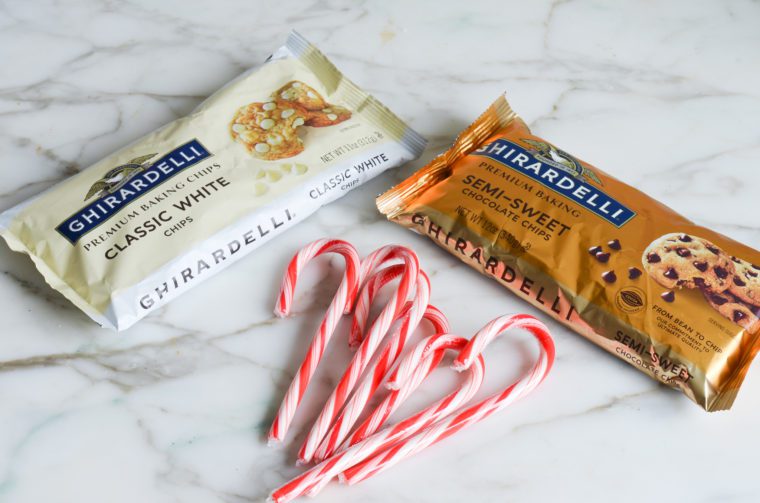
- Candy Canes or Peppermint Candies: Provide the peppermint flavor and festive color and crunch.
- Semi-sweet Chocolate Chips: Form the base layer of rich chocolate in the bark. Use best quality such as Ghiradelli.
- White Chocolate Chips: Create the bark’s contrasting layer and beautiful marbled effect. Use best quality such as Ghiradelli.
- Jump to the printable recipe for precise measurements
Step-By-Step Instructions
Step 1: Crush the Candy
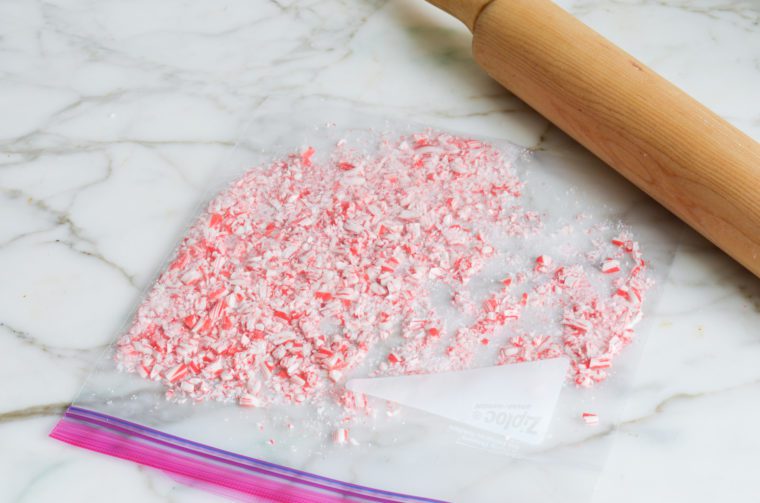
Place candy canes or candies in a resealable plastic bag. Seal the bag, making sure to press out all the air. Use a rolling pin to gently pound the candy into small pieces. Do your best not to pulverize the candy, as small pieces look prettier on the bark (you should have just shy of ½ cup pieces).
Step 2: Melt the Chocolates
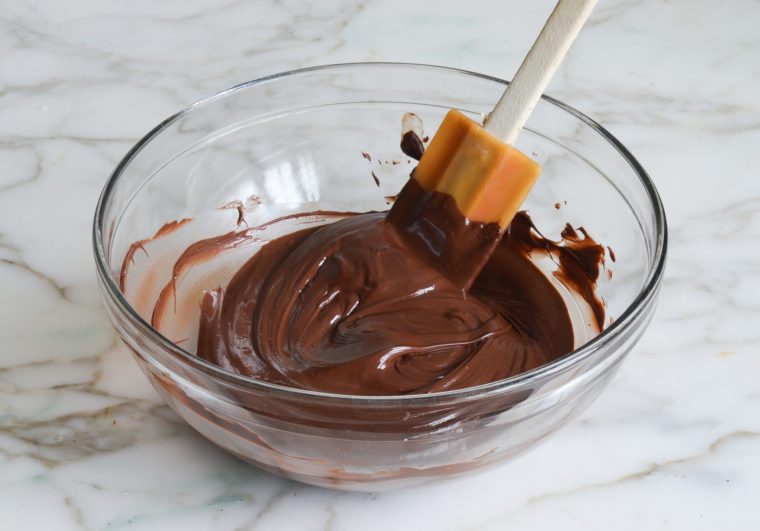
In a medium bowl, heat the semi-sweet chocolate chips in microwave at 50 percent power until mostly melted, 2 to 3 minutes. Note that the chips may not appear melted after the full cooking time in the microwave, but when you stir them, you’ll find that they’re very soft and will melt quickly once stirred.
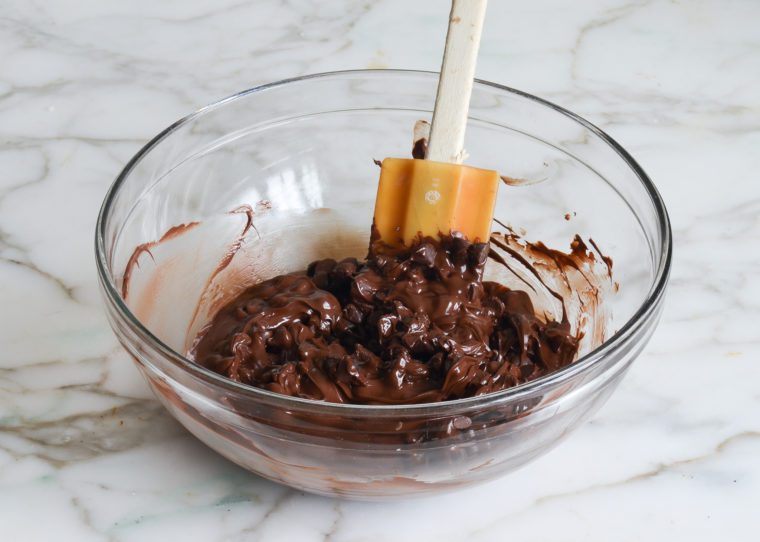
Stir until smooth.
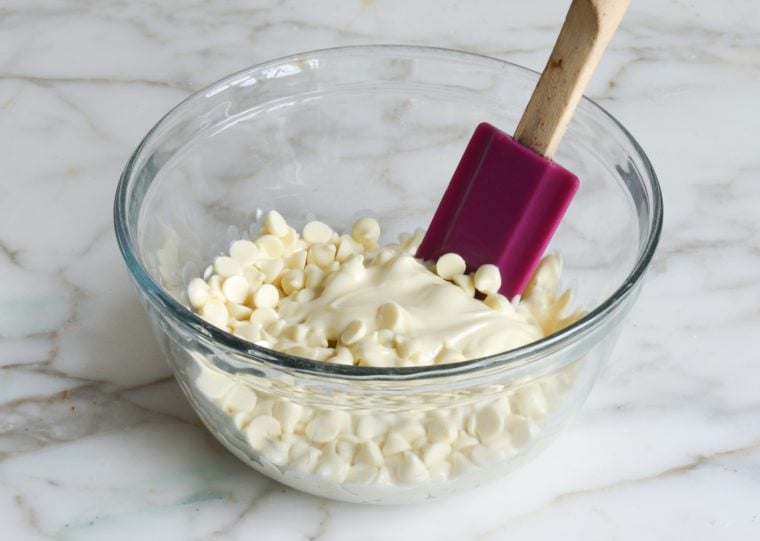
In a second medium bowl, melt the white chocolate chips in the microwave as directed above.
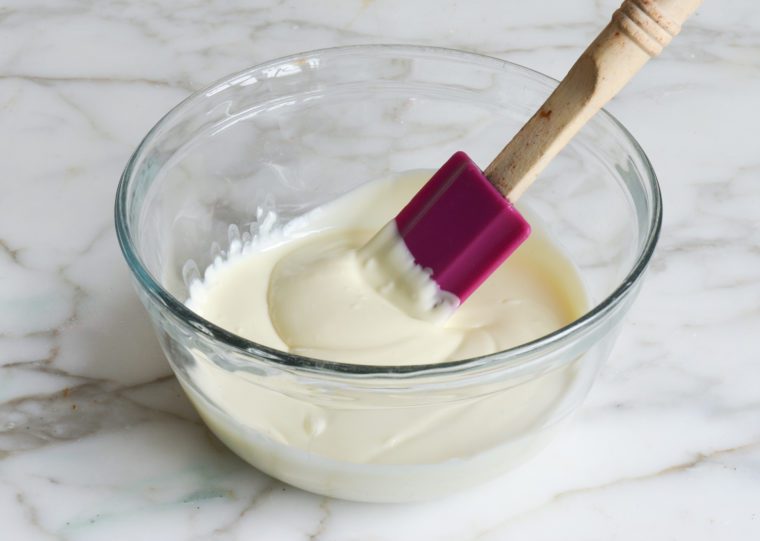
Stir until smooth.
Step 3: Layer and Swirl the Chocolates
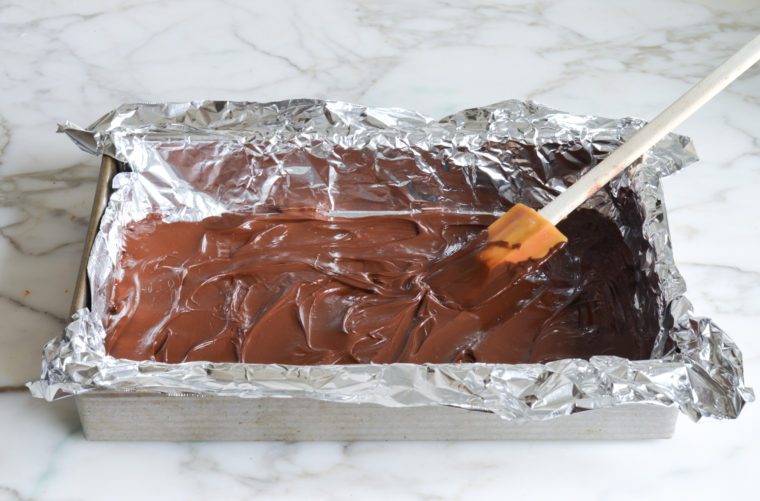
Use a rubber spatula to scrape the melted semi-sweet chocolate into a foil-lined baking dish and smooth the top, making sure to get all the way to the corners of the dish.
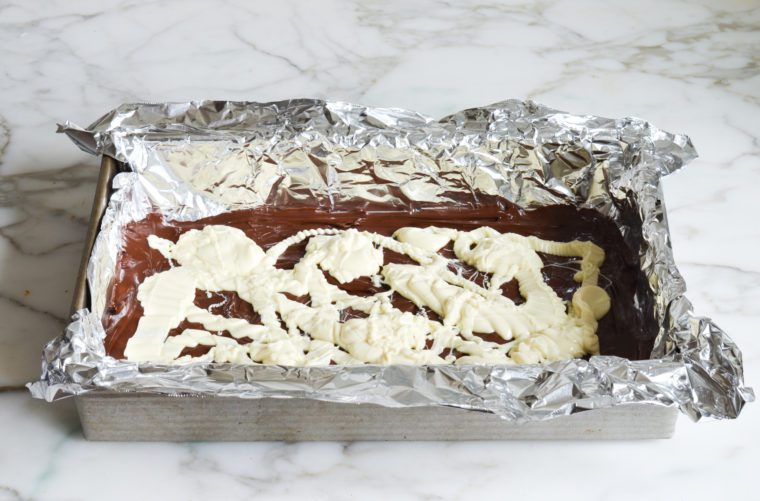
Drizzle the melted white chocolate in ribbons over the entire semi-sweet chocolate layer.
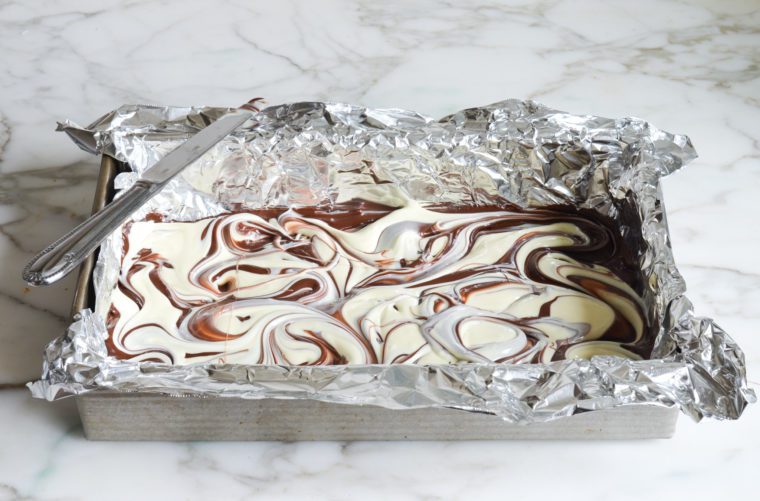
Drag the tip of a butter knife through the chocolate to create swirls, lifting the semi-sweet chocolate over the white chocolate to create nice marbling. Be careful not to swirl too much – less is more here! Don’t worry if the surface doesn’t appear flat.
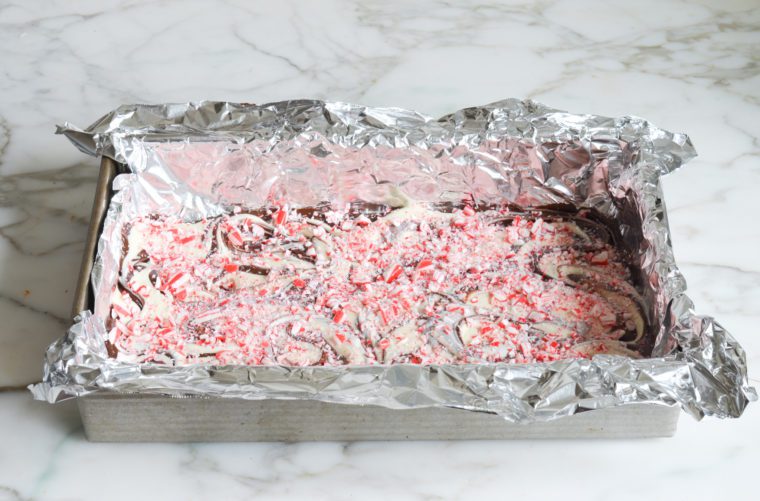
Sprinkle the pounded candy evenly over the chocolate. Tap the pan firmly against the counter three or four times to level the chocolate (this also helps the candy sink into the chocolate and adhere).
Refrigerate until firm, about 45 minutes, and then remove the pan from the refrigerator. Use the foil overhang to lift the bark out of the pan and transfer to a cutting board.
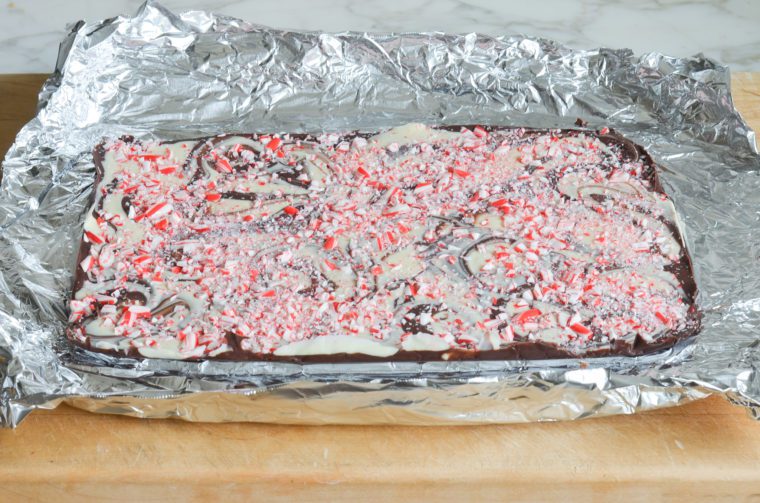
Peel off the foil.
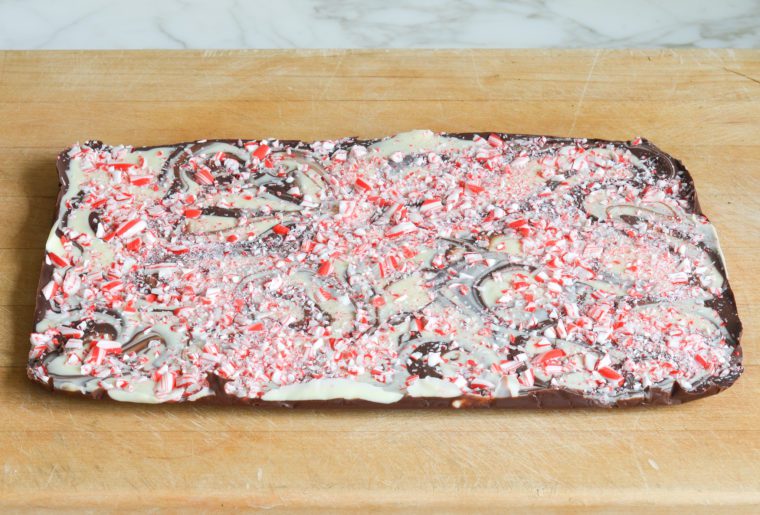
Using a sharp chef’s knife, cut the bark into pieces.
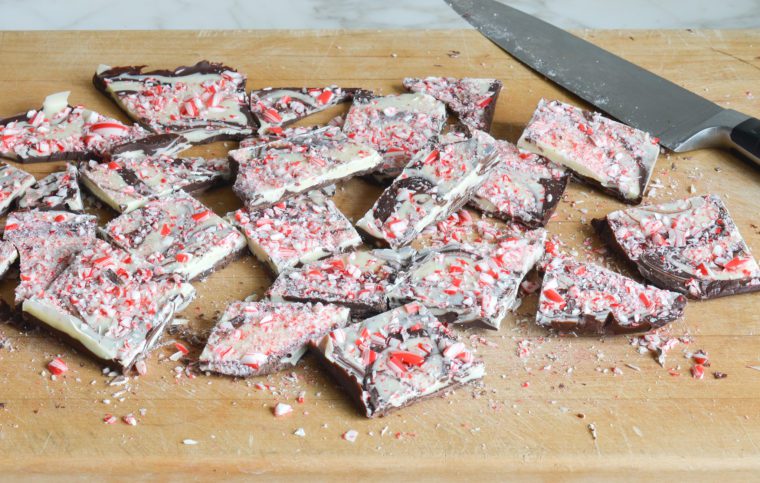
Store the bark in a covered container at cool room temperature or in the refrigerator for up to 1 week. Do not freeze.

You May Also Like
Marbled Peppermint Bark
With swirls of semi-sweet and white chocolate sprinkled with crushed candy canes, peppermint bark makes a festive holiday treat.
Ingredients
- 6 large candy canes, 18 mini candy canes, or 20 peppermint candies
- 1 bag (about 2 cups) semi-sweet chocolate chips, best quality such as Ghiradelli
- 1 bag (about 2 cups) white chocolate chips, best quality such as Ghiradelli
Instructions
- Line a 13 x 9-inch baking dish with wide heavy-duty aluminum foil, allowing a slight overhang on each side.
- Place candy canes or candies in a resealable plastic bag. Seal the bag, making sure to press out all the air. Use a rolling pin to gently pound the candy into small pieces. Do your best not to pulverize the candy; small pieces look prettier on the bark (you should have just shy of ½ cup pieces).
- In a medium bowl, heat the semi-sweet chocolate chips in microwave at 50 percent power until mostly melted, 2 to 3 minutes. Stir until smooth. In a second medium bowl, repeat with white chocolate chips. Note that the chips may not appear melted after the full cooking time in the microwave, but when you stir them, you'll find that they're very soft and will melt quickly once stirred. (Pro Tip: When working with chocolate, be sure your bowls and utensils are completely dry. Water is the enemy of melted chocolate and will cause it to seize up.)
- Use a rubber spatula to scrape the melted semi-sweet chocolate into the prepared baking dish and smooth the top, making sure to get all the way to the corners of the dish.
- Drizzle the melted white chocolate in ribbons over the entire semi-sweet chocolate layer.
- Drag the tip of a butter knife through the chocolate to create swirls, lifting the semi-sweet chocolate over the white chocolate to create nice marbling. Be careful not to swirl too much – less is more here! Don't worry if the surface doesn't appear flat.
- Sprinkle the pounded candy evenly over the chocolate. Tap the pan firmly against the counter three or four times to level the chocolate (this also helps the candy sink into the chocolate and adhere). Refrigerate until firm, about 45 minutes.
- Remove the pan from the refrigerator. Use the foil overhang to lift the bark out of the pan and transfer to a cutting board. Peel off the foil. Using a sharp chef's knife, cut the bark into pieces.
- Store the bark in a covered container at cool room temperature, or in the refrigerator, for up to 1 week. If refrigerated, let the bark come to room temperature before serving. Do not freeze.
Nutrition Information
Powered by ![]()
- Serving size: 1 piece bark
- Calories: 186
- Fat: 11 g
- Saturated fat: 7 g
- Carbohydrates: 23 g
- Sugar: 21 g
- Fiber: 1 g
- Protein: 2 g
- Sodium: 15 mg
- Cholesterol: 3 mg
This website is written and produced for informational purposes only. I am not a certified nutritionist and the nutritional data on this site has not been evaluated or approved by a nutritionist or the Food and Drug Administration. Nutritional information is offered as a courtesy and should not be construed as a guarantee. The data is calculated through an online nutritional calculator, Edamam.com. Although I do my best to provide accurate nutritional information, these figures should be considered estimates only. Varying factors such as product types or brands purchased, natural fluctuations in fresh produce, and the way ingredients are processed change the effective nutritional information in any given recipe. Furthermore, different online calculators provide different results depending on their own nutrition fact sources and algorithms. To obtain the most accurate nutritional information in a given recipe, you should calculate the nutritional information with the actual ingredients used in your recipe, using your preferred nutrition calculator.


Hoping to make this for guests tomorrow, but I only have normal non-stick spray, not with flour. Should I coat the pan with the Pam spray and then dust with flour, or is there a better alternative? I want to be sure the cake comes out of the pan in one piece! Thank you!
Hi Trisha, You’ve left the question on the peppermint bark recipe, so I’m not sure which cake you’re referring to, but what you’ve suggested should be fine. 😊
Hi Jenn! I love all of your recipes! Can I use Bob’s soft peppermint candy instead of candy canes. Thought it might be softer on the teeth for the elderly.
Hi Shelly, So glad you like the recipes! Yes, I think you could get away with using those peppermints. 🙂
Hi Jenn!
Thank you for your recipes and books – we love everything you do!
As it’s almost that time of year again, I thought I’d give this a try for my family and friend gifting idea this year. Yesterday I tried the famous version but salted – yum! For this recipe, after adding the candy, can I just sprinkle on some Maldon Sea Salt flakes that I have?? How much do you think?? Thanks so much! Cheers
Hi Donna, thanks for your nice words about the recipes — so glad you like them! Yes, it would be fine to sprinkle some sea salt flakes over the top. I’d guesstimate about 1 teaspoon would be good. Just make sure it’s evenly sprinkled. Enjoy!
Lovely recipe, however if using chocolate chips other than Ghirardelli, such as Nestle Toll House chocolate chips, be sure to microwave in short intervals to a total time of two minutes to prevent burned chocolate. I used Ghirardelli’s semi-sweet chocolate chips which can go for the full two minutes at once and the Nestle Toll House white chocolate chips which need to be microwaved in intervals as they almost burned when I tried not doing intervals. This was an error on my part and is an easy fix! I am excited to taste the final product! Thank you for your tasty recipes!