Cheddar & Herb Cheese Straws
This post may contain affiliate links. Read my full disclosure policy.
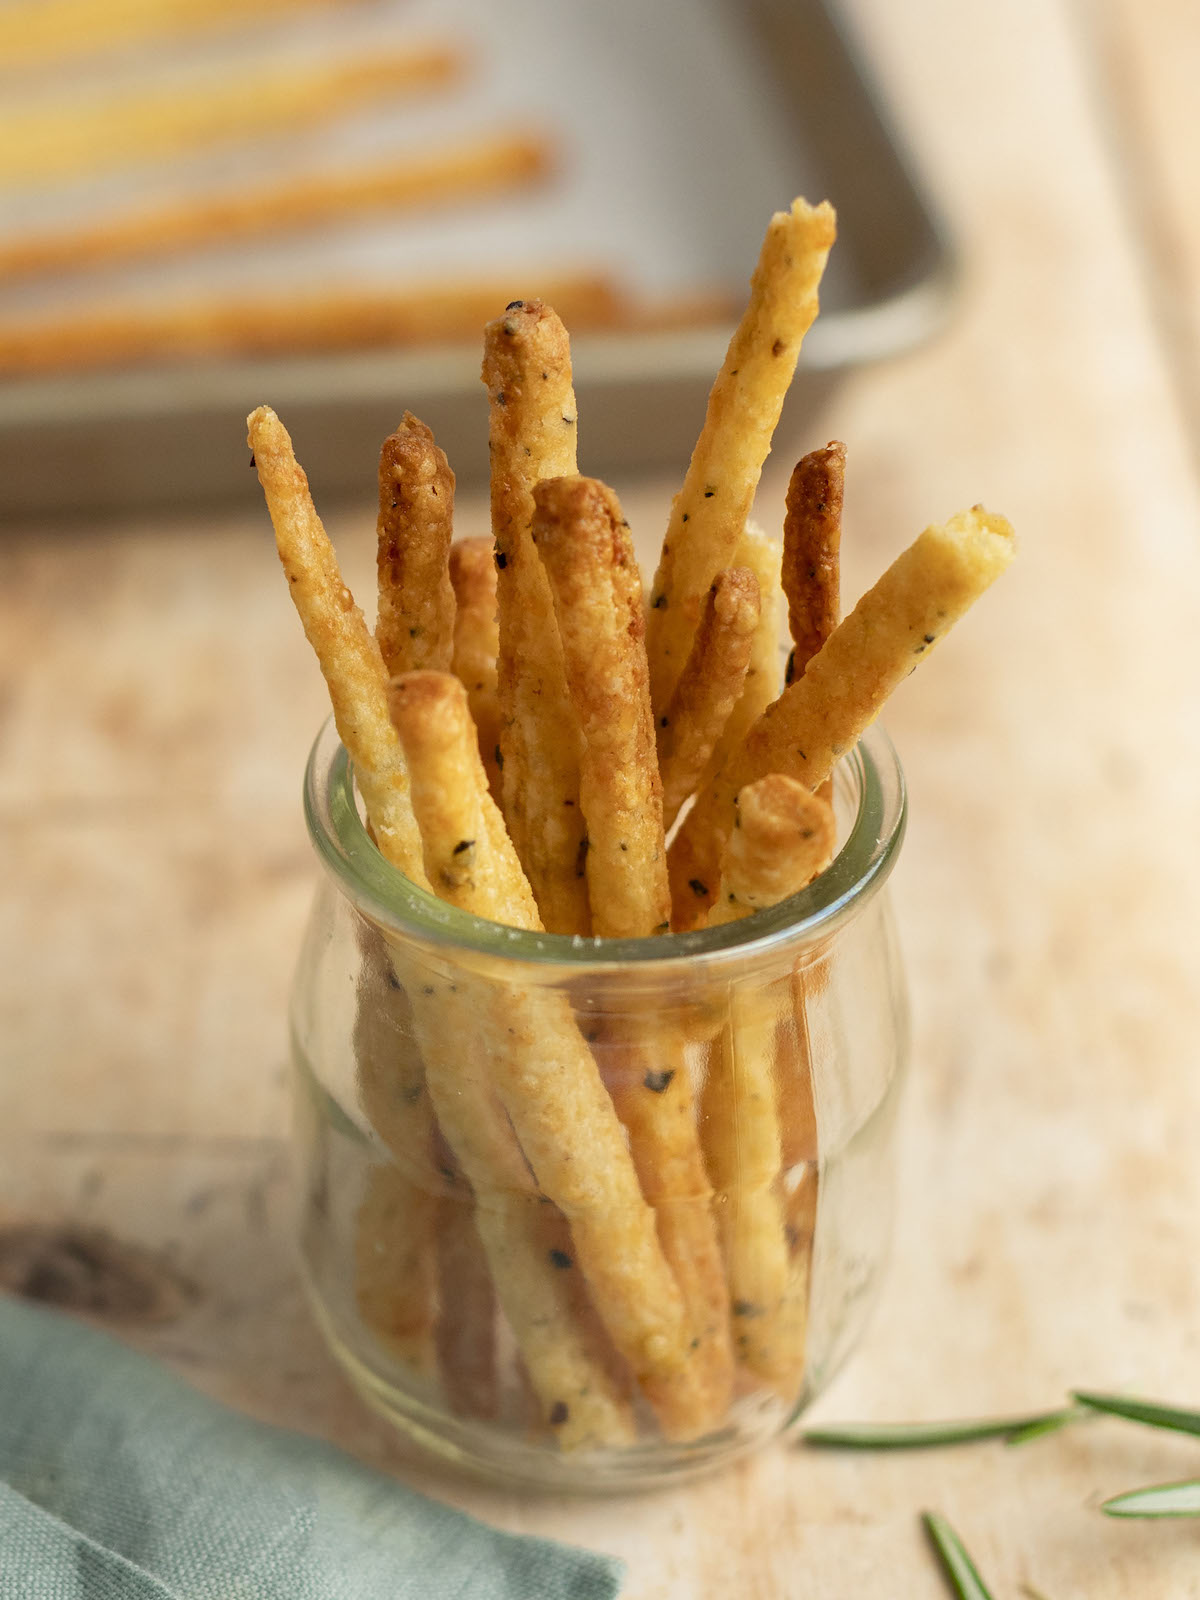
Crisp, flaky cheese straws dotted with herbs and pepper flakes make a perfect party starter, or enjoy them as a delicious nibble alongside a comforting bowl of soup.
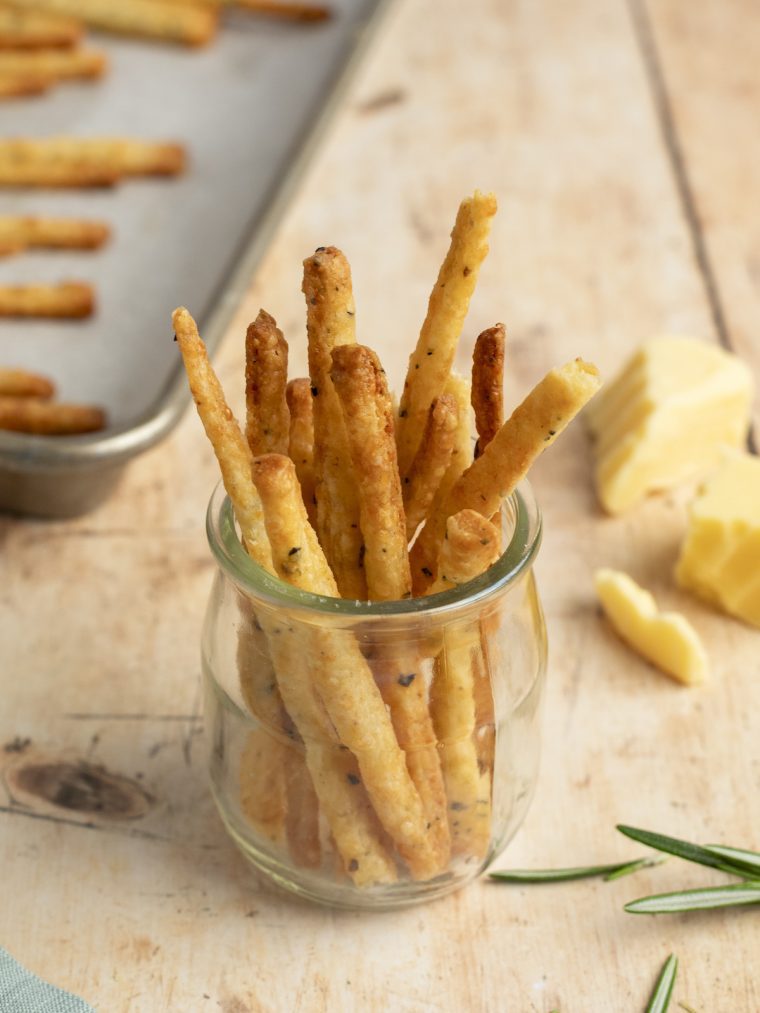
These crisp and flaky cheese straws, speckled with fresh herbs and crushed red chili flakes, make a fantastic hors d’oeuvre for wine and cocktails. They also pair wonderfully with a comforting bowl of tomato soup. While they may resemble breadsticks, their texture is closer to that of a savory pie crust or pastry. They are wildly addictive and simply fun to serve. Special thanks to my dear friend Kelly Santoro for sharing the recipe!
Table of Contents
“These are easy to make and addictive! A definite hit for our group that went wine tasting!”
What You’ll Need To Make Cheese Straws
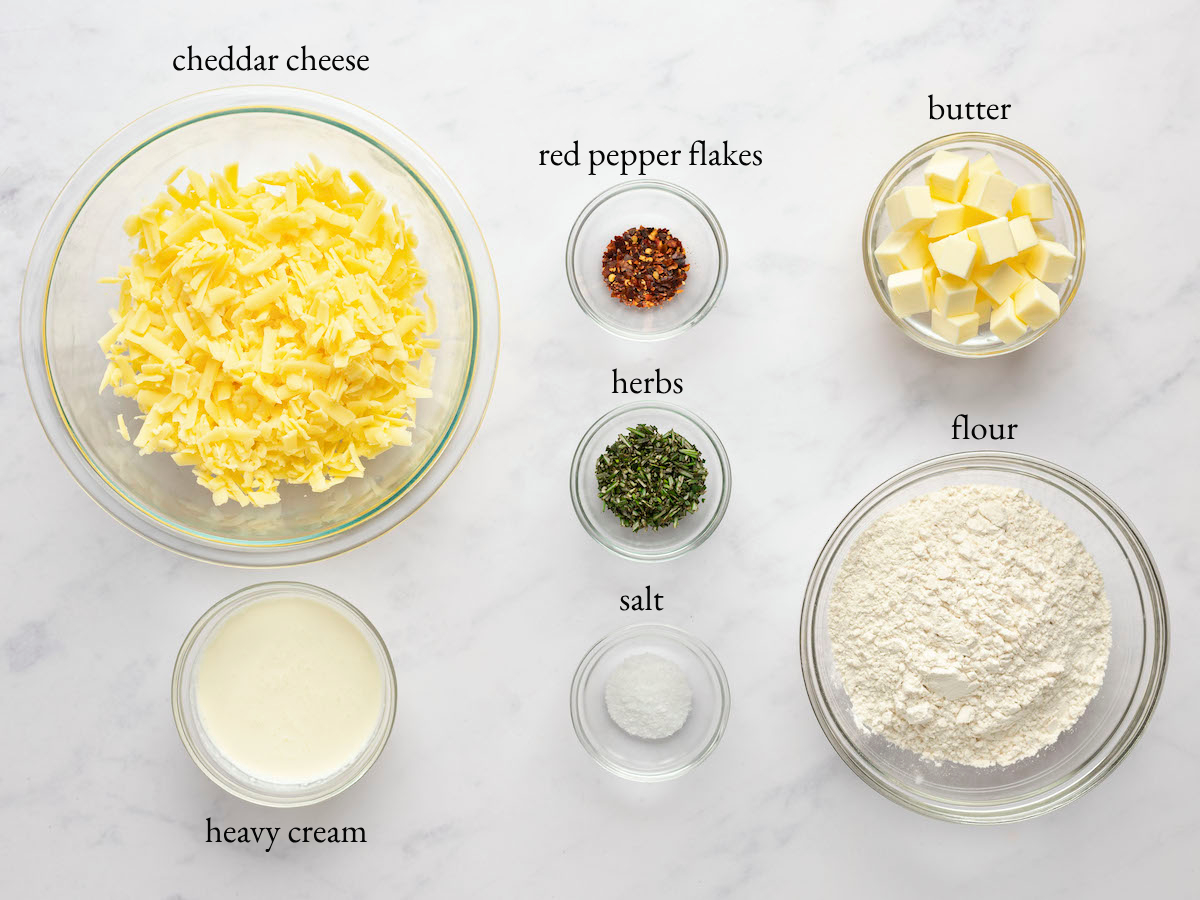
- Extra-sharp cheddar cheese: Provides the primary flavor base and creates the rich, cheesy taste that is essential to the straws. No need to spend a lot on a fancy cheese; a good supermarket brand like Cabot or Tillamook works well here.
- All-purpose flour: Serves as the structural base of the straws, giving them form and texture.
- Crushed red pepper flakes: Add a spicy kick to balance the richness of the cheese and butter.
- Fresh herbs: Make the straws taste even better and giving them a lovely, herby aroma. I like a combination of rosemary and thyme, but any fresh herbs will work.
- Cold unsalted butter: Contributes to the flaky, tender texture of the pastry by creating layers in the dough.
- Heavy cream: Adds moisture and richness to the dough, helping to bind the ingredients together and contribute to the flakiness of the baked straws.
- Jump to the printable recipe for precise measurements
Step-by-Step Instructions
Begin by combining the grated cheese, flour, salt, red chili flakes and herbs in the bowl of a food processor fitted with a metal blade.
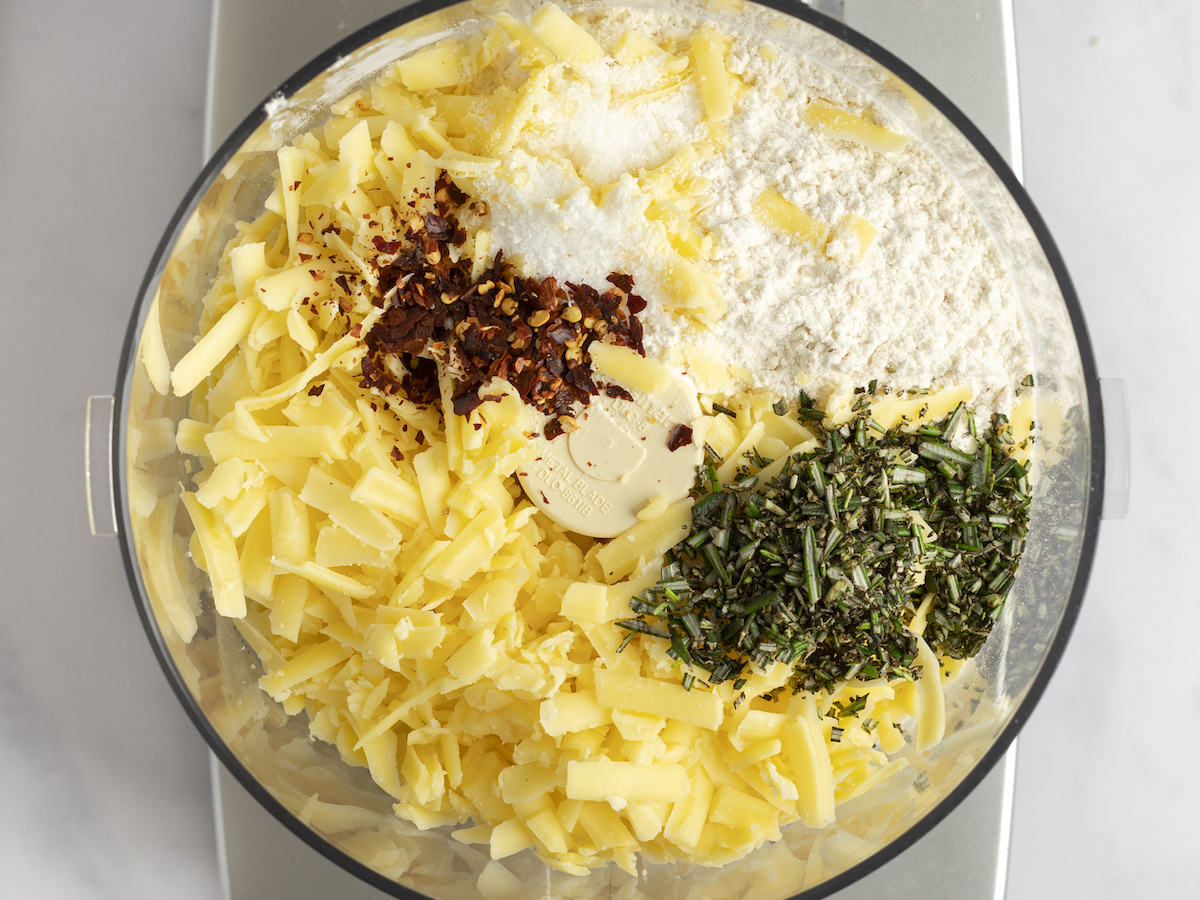
Process until the mixture looks like coarse meal.
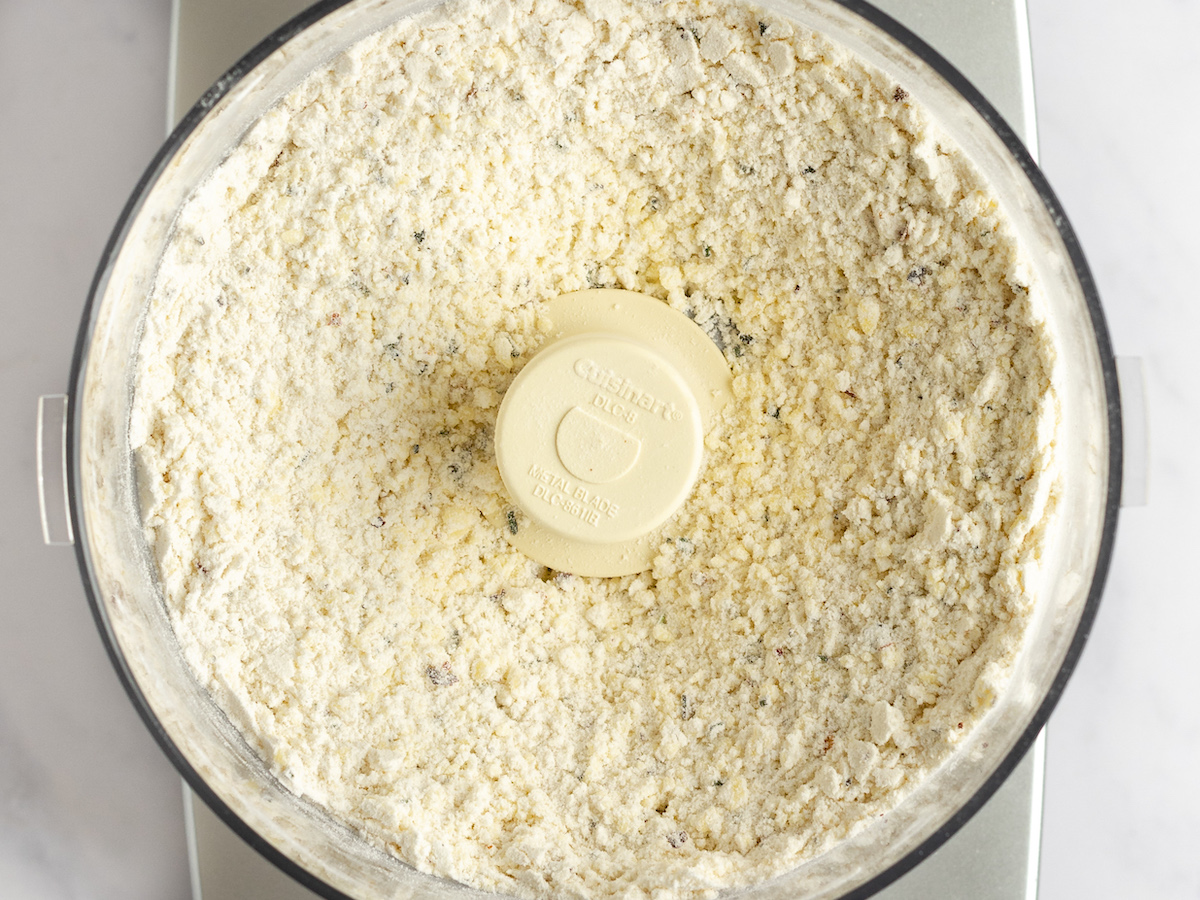
Add the cold butter.
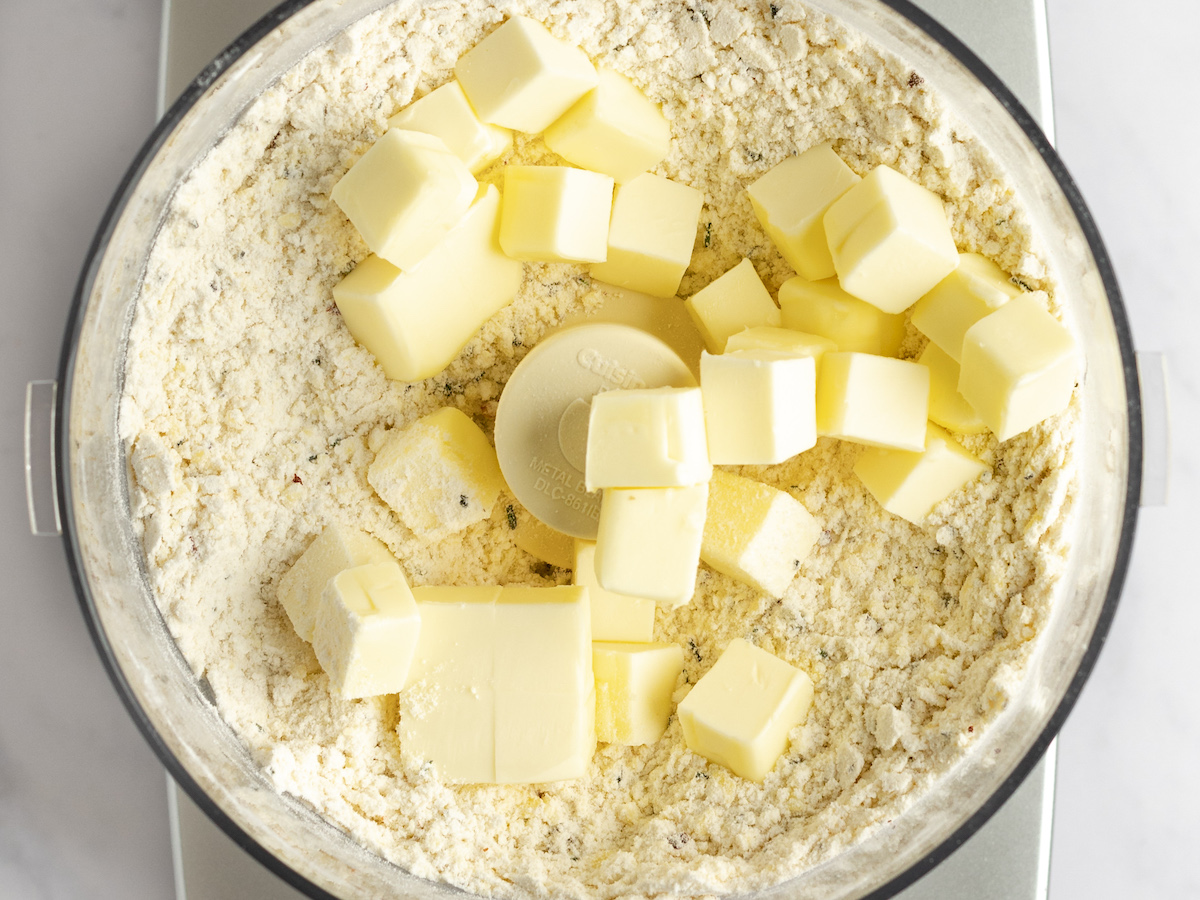
Process until the mixture is crumbly with pea-size bits of butter within. Then add the cream.
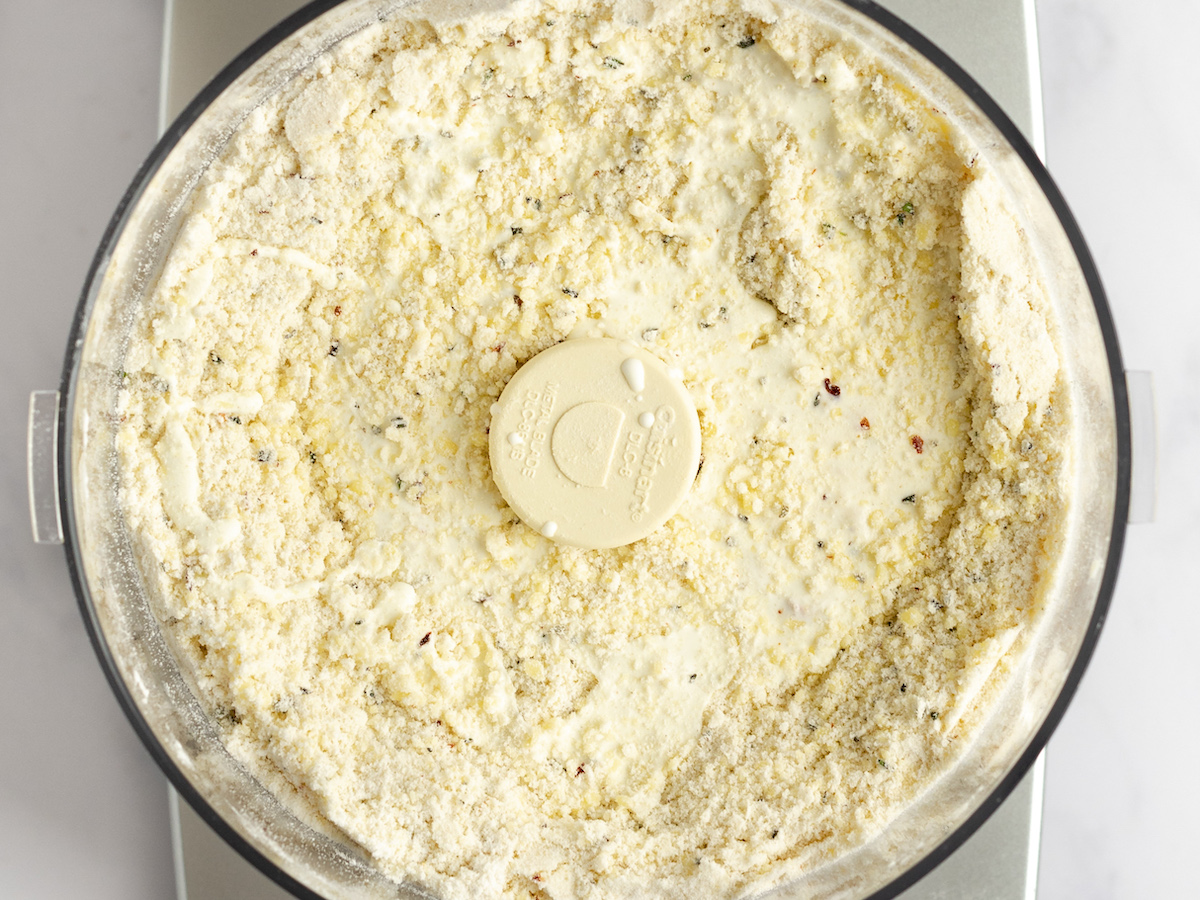
Pulse until the dough clumps together in a mass.
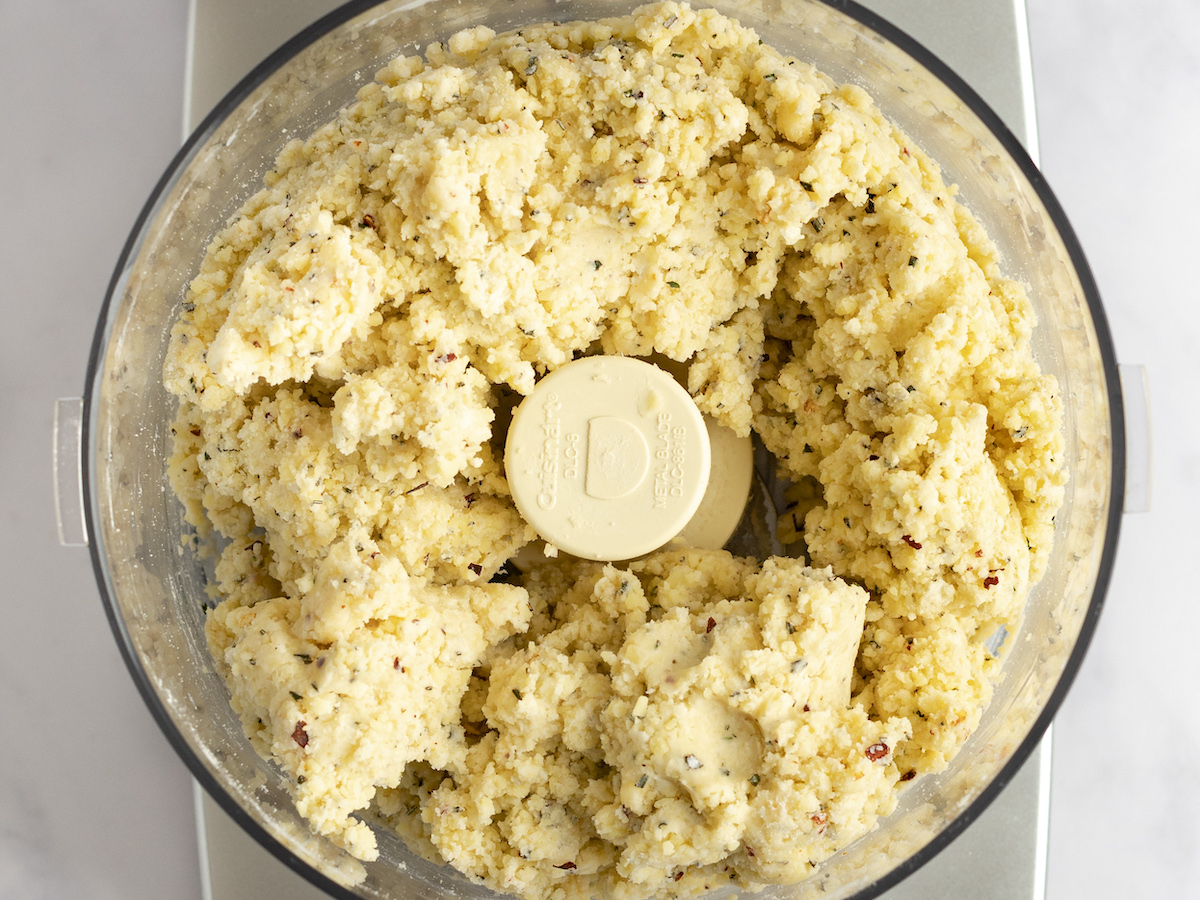
Dump the dough out onto a lightly floured work surface and dust the dough with flour. Knead the dough until it comes together and shape into a rectangle about an inch high; then, cut in half.
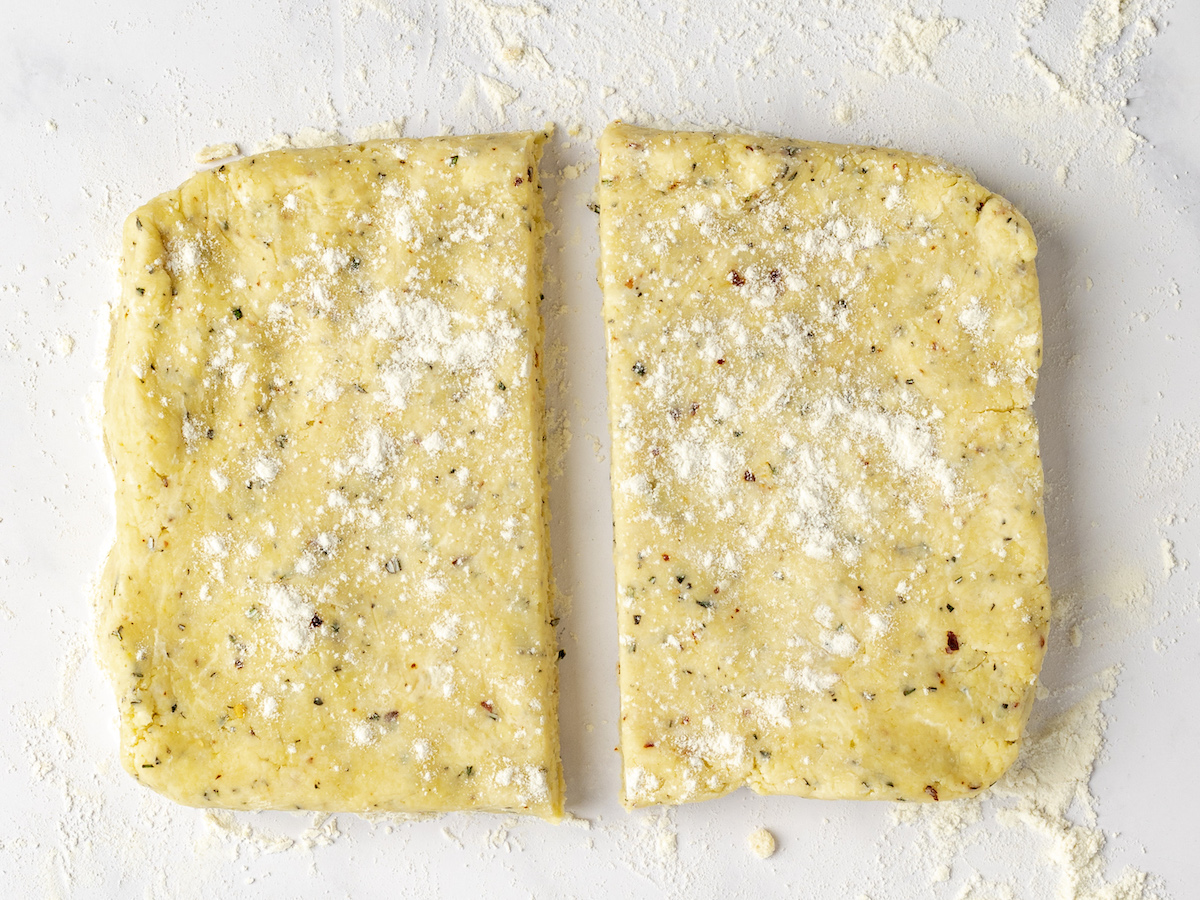
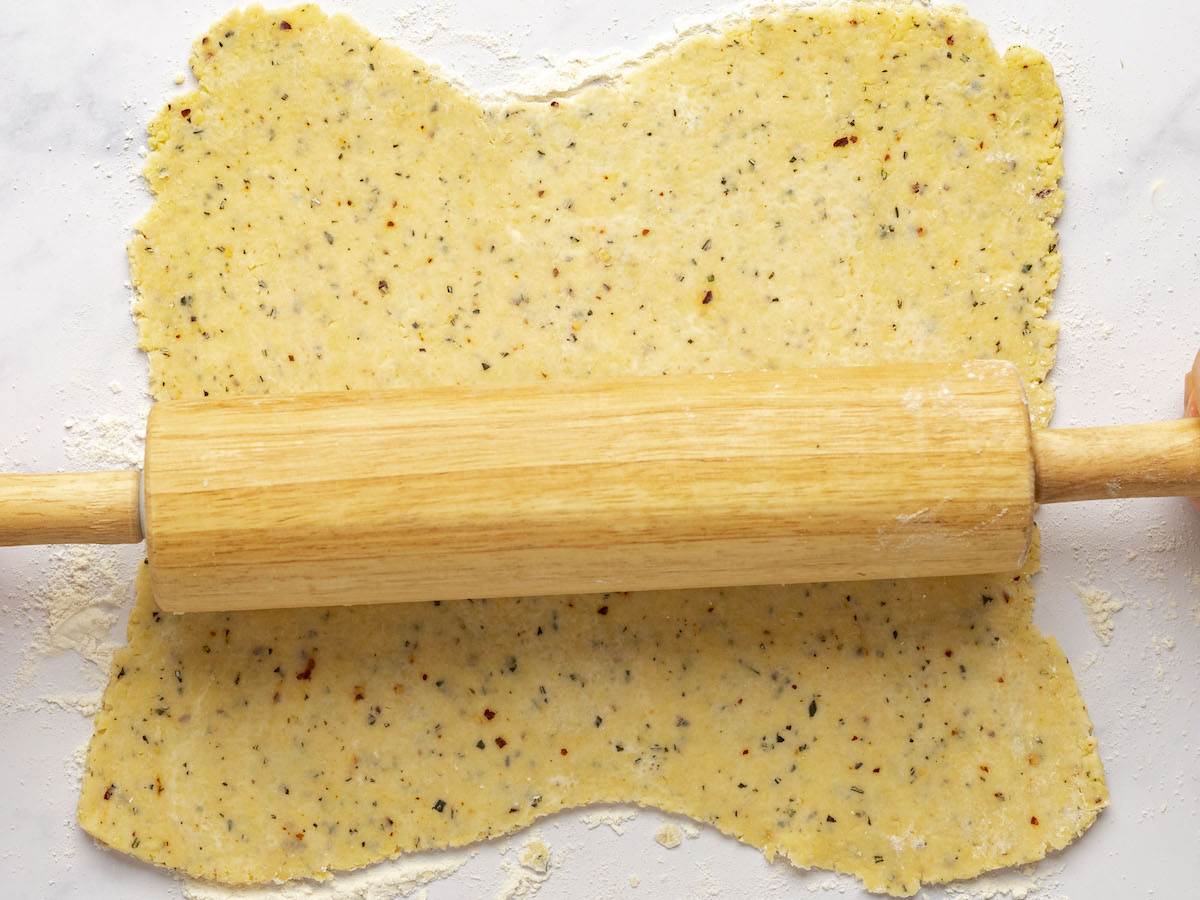
Roll each block of dough into an 8×10-inch rectangle.
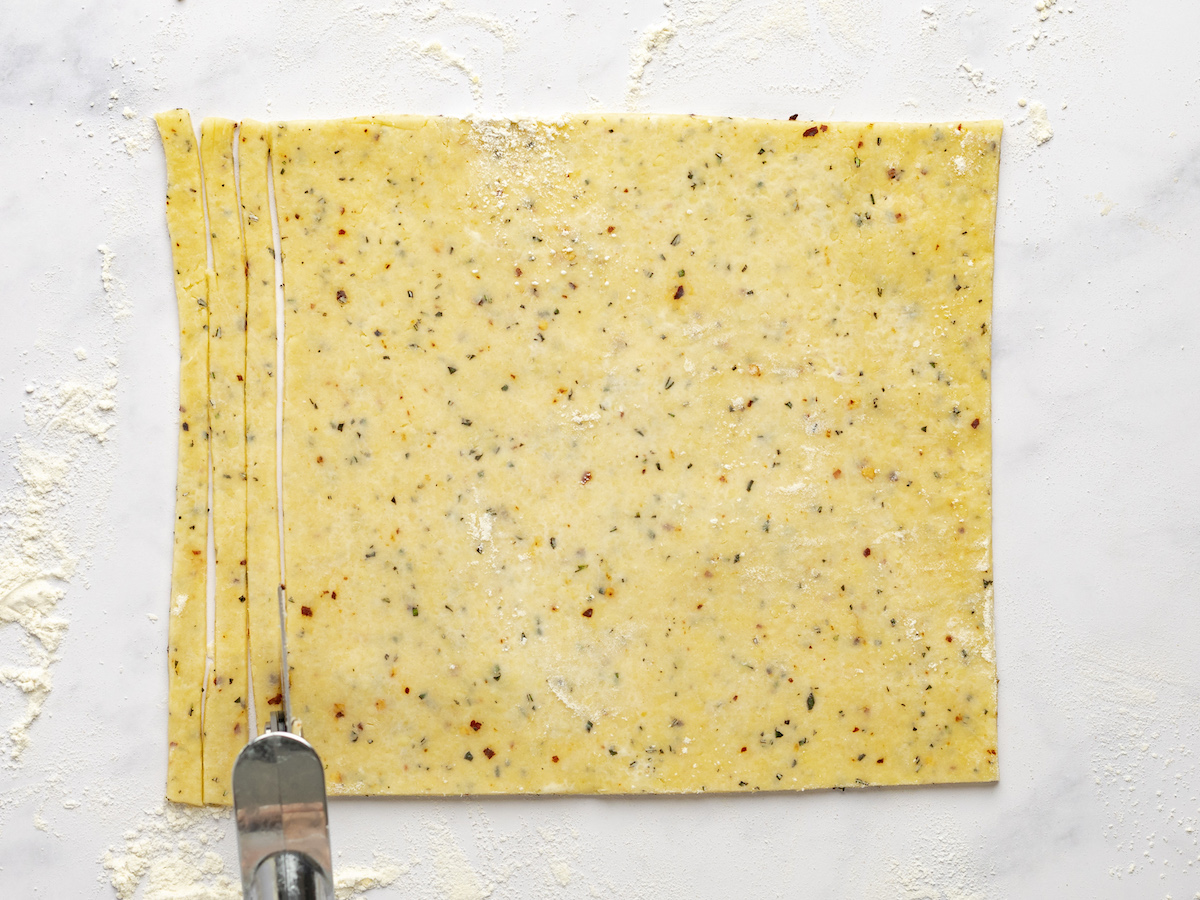
Trim the edges, then use a sharp knife or pizza cutter to cut the dough into strips about 1/4-inch wide. Try to be fairly accurate: if they are too thick, they won’t crisp up; if they are too thin, they’ll break.
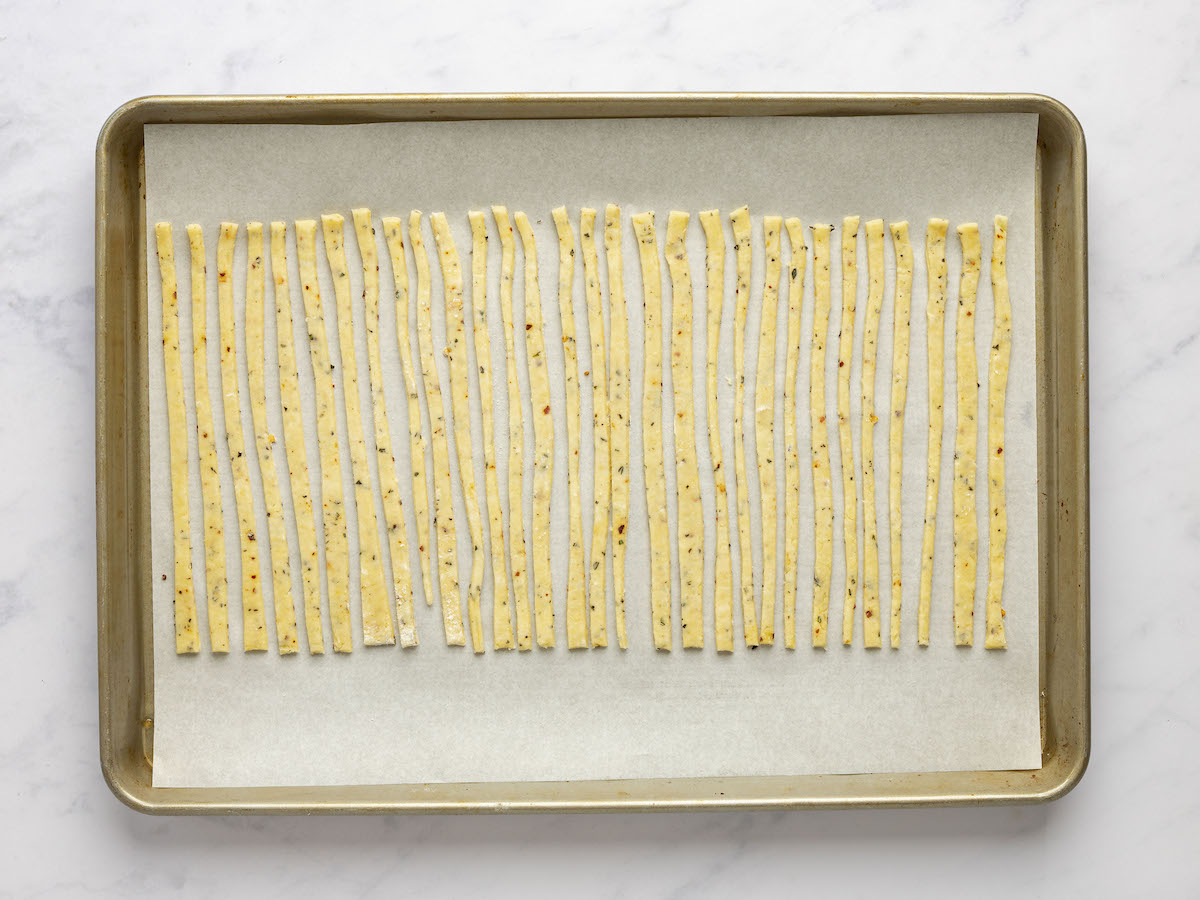
Transfer the dough strips to a parchment lined baking sheet, leaving about a 1/4-inch between them.
Bake for 10 to 12 minutes, or until lightly golden on top and a rich golden color on the bottom.
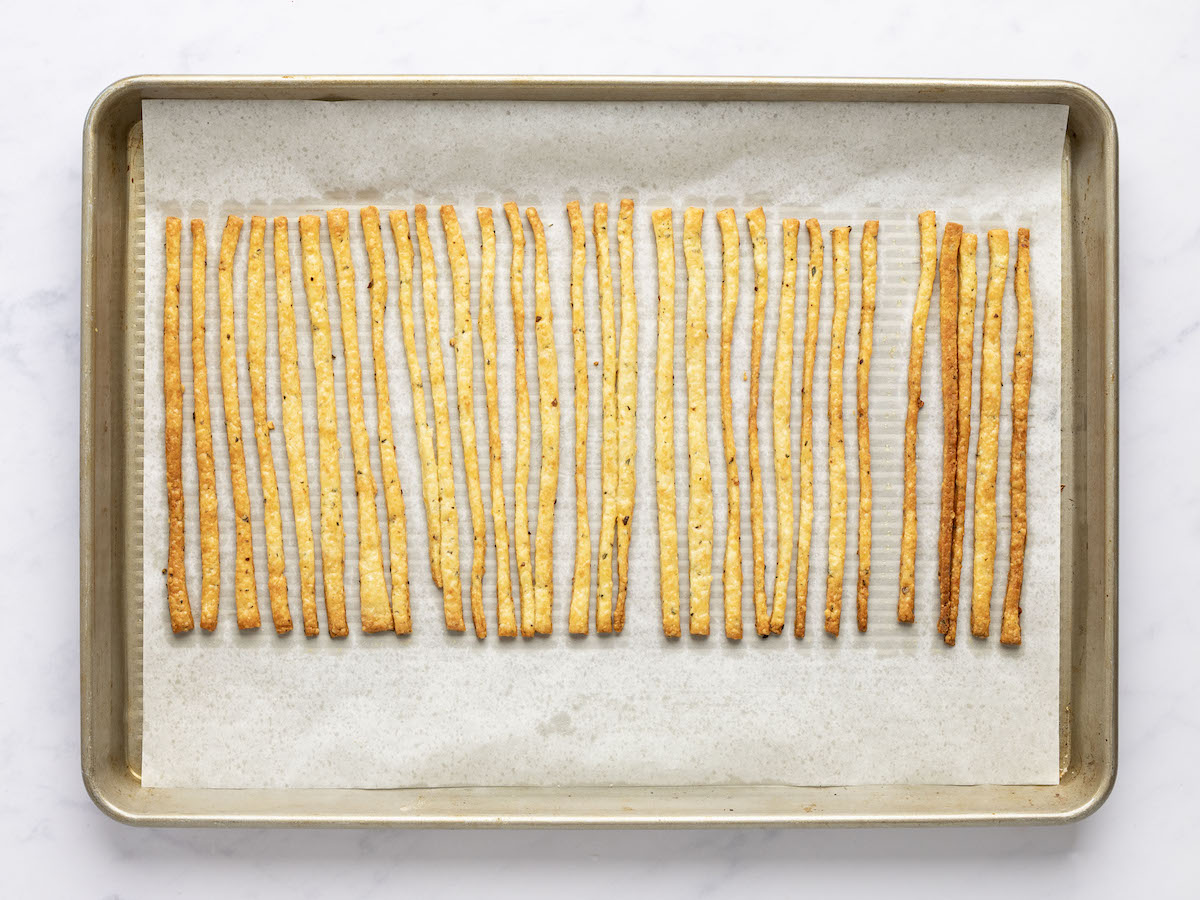
Let cool on a rack, then transfer to a plate or jar to serve.
You May Also Like
Cheddar & Herb Cheese Straws
Crisp, flaky cheese straws dotted with herbs and pepper flakes make a perfect party starter, or enjoy them as a delicious nibble alongside a comforting bowl of soup.
Ingredients
- 8 ounces (2 packed cups) grated extra-sharp cheddar cheese
- 1½ cups all-purpose flour, spooned into measuring cup and leveled-off with knife, plus more for dusting
- 1 teaspoon kosher salt
- Scant teaspoon crushed red pepper flakes
- 1½ tablespoons roughly chopped fresh herbs, such as rosemary and/or thyme
- 1 stick (½ cup) cold unsalted butter
- 6 tablespoons heavy cream
Instructions
- Preheat the oven to 400°F. Set two oven racks in the center of the oven. Line two baking sheets with parchment paper.
- In the bowl of a food processor, combine the cheese, flour, salt, red pepper flakes and herbs. Pulse until the mixture resembles coarse crumbs.
- Cut the butter into ½-inch chunks and add to the flour/cheese mixture. Pulse until the mixture resembles coarse crumbs, with some pea-size clumps of butter within. Add the heavy cream and pulse until the mixture starts to clump together into a mass.
- Lightly flour a work surface and dump the dough on top. Dust the top of the dough with flour and use your hands to shape into a rectangle about 1-inch high. Cut the rectangle in half.
- Dust the work surface with more flour and roll each block of dough into a 8 x 10-inch rectangle about ⅛-inch thick (turn the dough as you go and add more flour as necessary so it doesn't stick). Using a pizza cutter or sharp knife, trim the edges straight without sacrificing too much dough, then cut the dough into thin strips about ¼-inch wide. Transfer the strips to the prepared baking sheets, leaving about a ¼-inch of space between them. Bake the straws for 10 to 12 minutes, or until lightly golden on top and a rich golden color on the bottom, rotating the pans from top to bottom and front to back midway through. Remove from the pans from the oven and set on a rack to cool. Carefully transfer the cheese straws to a plate and serve.
- Note: The cheese straws will keep well in a covered container for a few days.
- Freezer-Friendly Instructions: To freeze the dough: Shape the dough into 2 rectangles, about 1 inch thick, wrap each securely in plastic wrap, place them in a sealable bag, and freeze for up to 3 months. When ready to bake, remove the dough from the freezer, thaw it until pliable, and then proceed with recipe. To freeze after baking: let the cheese straws cool completely and store in an airtight container, separating layers with parchment paper or aluminum foil, and freeze for up to 3 months. Before serving, remove them from the container and let them come to room temperature.
Nutrition Information
Powered by ![]()
- Serving size: 1 cheese straw
- Calories: 50
- Fat: 4g
- Saturated fat: 2g
- Carbohydrates: 3g
- Sugar: 0g
- Fiber: 0g
- Protein: 1g
- Sodium: 69mg
- Cholesterol: 11mg
This website is written and produced for informational purposes only. I am not a certified nutritionist and the nutritional data on this site has not been evaluated or approved by a nutritionist or the Food and Drug Administration. Nutritional information is offered as a courtesy and should not be construed as a guarantee. The data is calculated through an online nutritional calculator, Edamam.com. Although I do my best to provide accurate nutritional information, these figures should be considered estimates only. Varying factors such as product types or brands purchased, natural fluctuations in fresh produce, and the way ingredients are processed change the effective nutritional information in any given recipe. Furthermore, different online calculators provide different results depending on their own nutrition fact sources and algorithms. To obtain the most accurate nutritional information in a given recipe, you should calculate the nutritional information with the actual ingredients used in your recipe, using your preferred nutrition calculator.


Thanks so much for sharing your recipes, Jenn. I appreciate the work that goes into this.
It would be great – and much more accurate – if you would provide weight measurements instead of volume.
Thanks
Hi Lori, so glad you like the recipes! Most of my recipes have the conversions to weight/metric. This one didn’t so I just added them. To view them, scroll down to the recipe, and immediately under the recipe title on the right side, you’ll see a little toggle. If you move it from “cup measures” to metric, you’ll see measurements that will work for you. Hope that helps!
Hi Jenn, do you use Morton or Diamond Crystal Kosher salt in your recipes? It seems I have seen a Morton box in some of your photos, but just want to be sure.
I will be making the cheese sticks for Thanksgiving.
Thank you for all your wonderful recipes!
I use Morton’s. 😊
I made my straws last night and the taste is wonderful! However, I’m not sure I baked them long enough because they aren’t crispy. Is there any way to crisp them up – maybe pop them back in the oven at 400 on a wire rack? Any suggestions would be welcome.
Hi Cameron, Yes, I think that would work.
I was baking these when my oven short-circuited – so I finished them in the air fryer! WAY crispier and absolutely delicious compared to the first batch I made in the oven alone.