Chocolate Muffins
This post may contain affiliate links. Read my full disclosure policy.
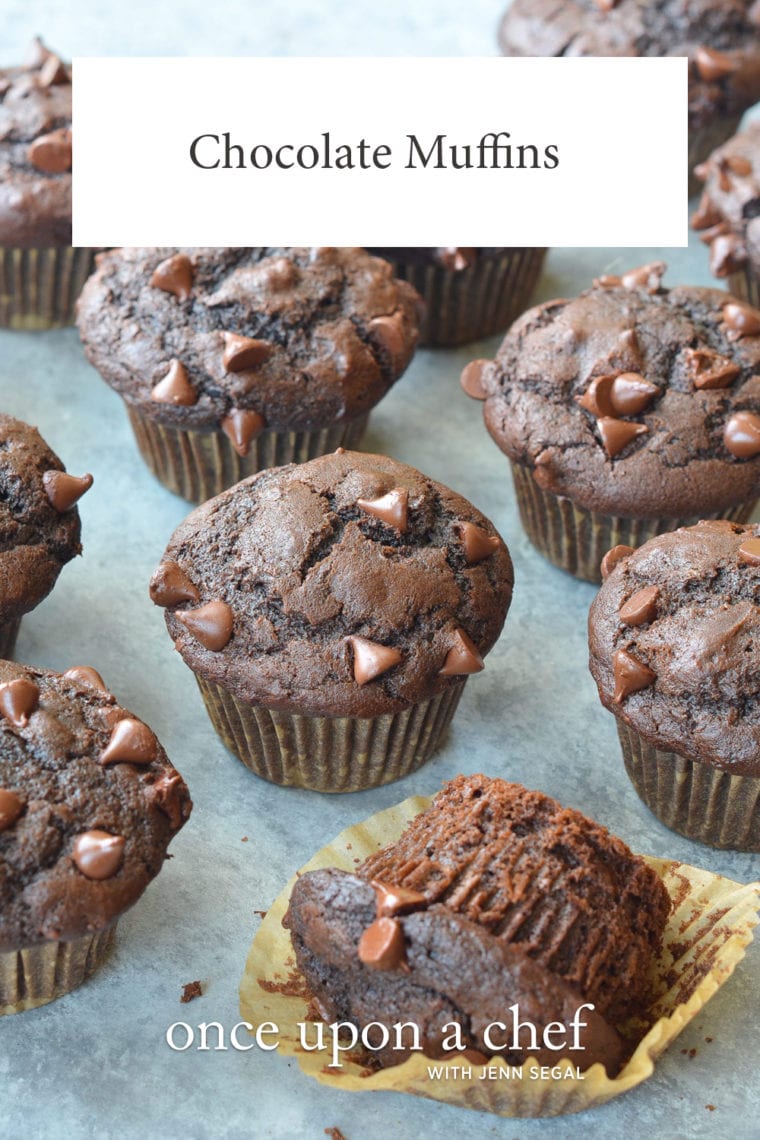
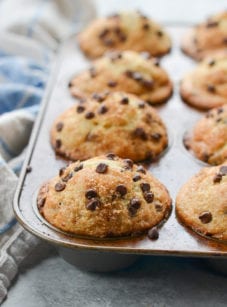
Calling all chocoholics! These tender chocolate muffins with a double hit of chocolate make a delicious breakfast or after-school snack.
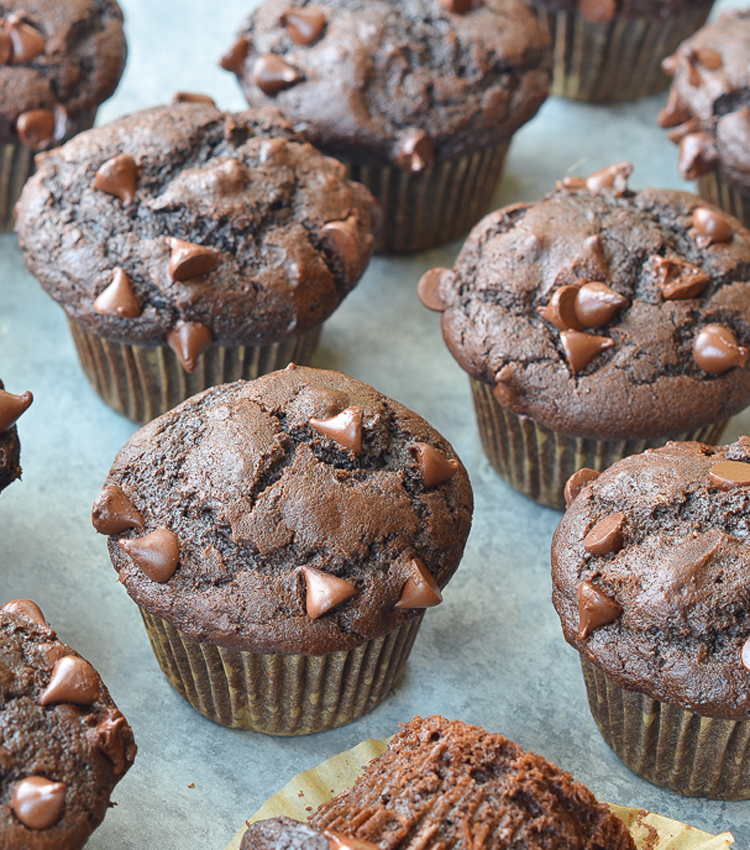
The men in my family all have one thing in common: they are serious chocoholics. Growing up, my dad lived on a steady diet of chocolate cake and chocolate chip cookies, and he always kept a stash of Hershey’s Kisses in the back corner of the freezer, where my sister and I couldn’t reach them.
My son has clearly inherited this chocolate obsession, and he knows that flattery and praise are all it takes to get me into the kitchen, covered in cocoa powder. These tender chocolate muffins with a double hit of chocolate are one of his all-time favorites. They are easy to whip up with everyday ingredients. If you don’t have any buttermilk on hand, or don’t want to purchase a whole carton, see how to make buttermilk using milk and vinegar or lemon juice.
Table of Contents
“These muffins are spectacular! They come out beautiful, moist and chocolatey every time I make them.”
What you’ll need To Make Chocolate Muffins
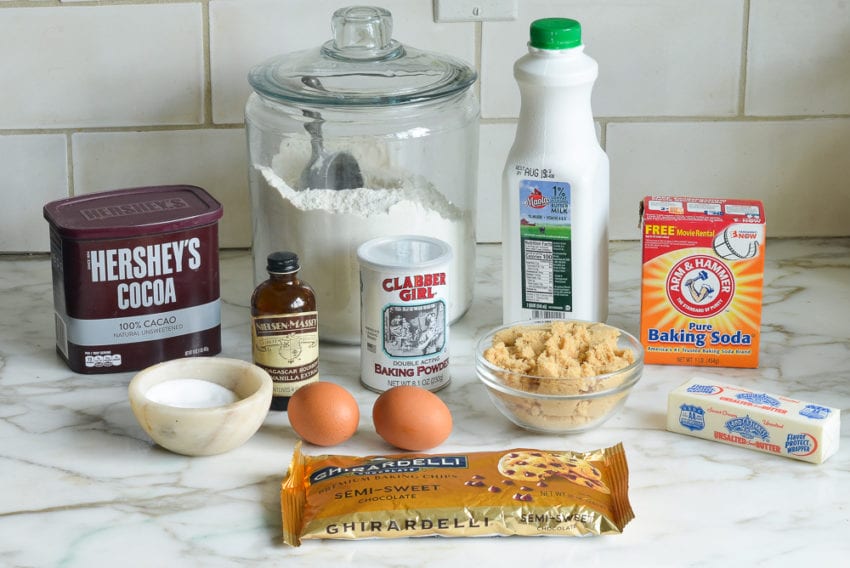
- Eggs: Provide structure and moisture, contributing to the tender texture.
- Buttermilk: Adds moisture, enhances the muffins’ flavor, and interacts with baking soda to help the muffins rise.
- Vanilla Extract: Elevates the chocolate flavor and adds depth to the taste.
- All-Purpose Flour: Forms the base of the batter. Measure it by spooning it into the measuring cup and leveling it off to ensure accuracy.
- Natural Unsweetened Cocoa Powder: Provides intense chocolate flavor without excess sweetness.
- Light Brown Sugar: Adds moisture, sweetness, and a subtle caramel note. Because it tends to clump, gently pack the sugar into the measuring cup to ensure you’ve got the correct amount.
- Baking Powder and Baking Soda: Leavening agents that help the muffins rise and achieve a fluffy texture.
- Semi-Sweet or Bittersweet Chocolate Chips: Introduce pockets of melty chocolate for a double hit of chocolate.
- Butter: Contributes to tenderness and richness in flavor.
- Jump to the printable recipe for precise measurements
Step-by-Step Instructions
Begin by combining the eggs, buttermilk, and vanilla extract in a medium bowl.
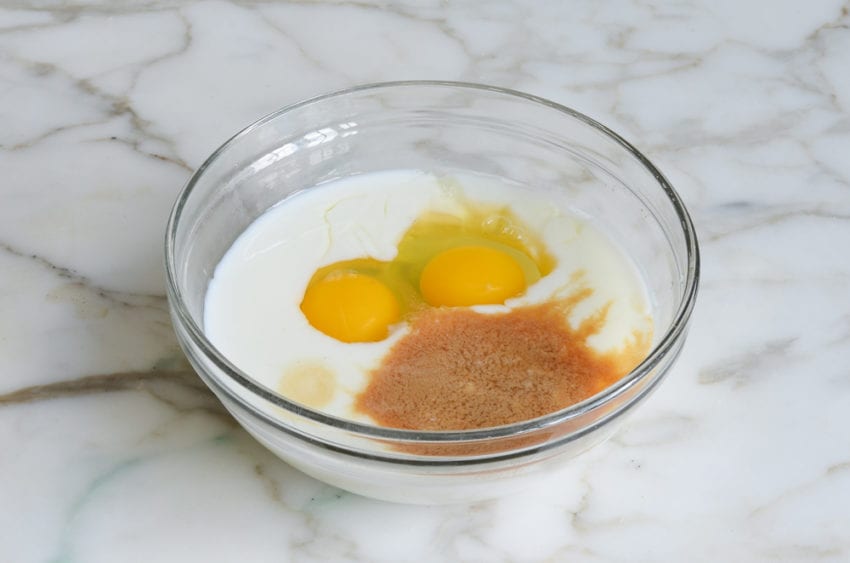
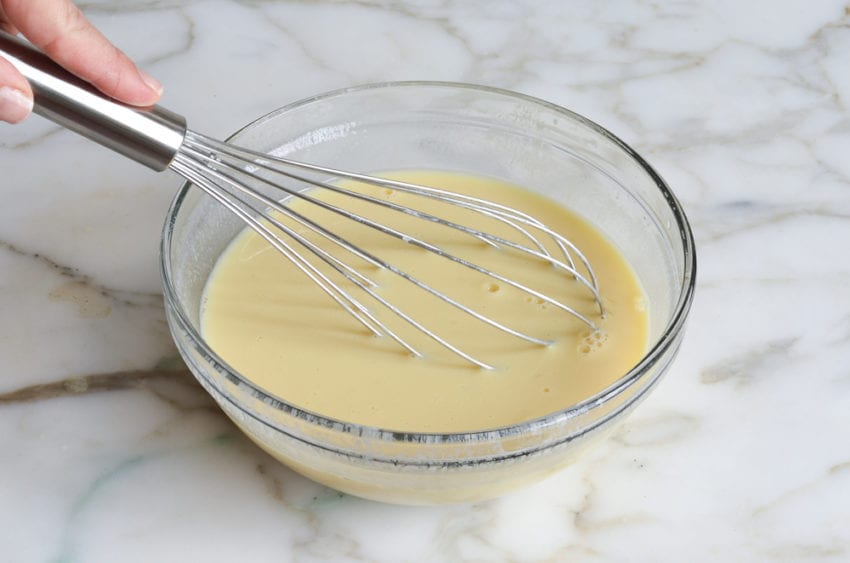
Whisk well.
In another large bowl, combine the flour, cocoa powder, brown sugar, baking powder, baking soda, and salt.
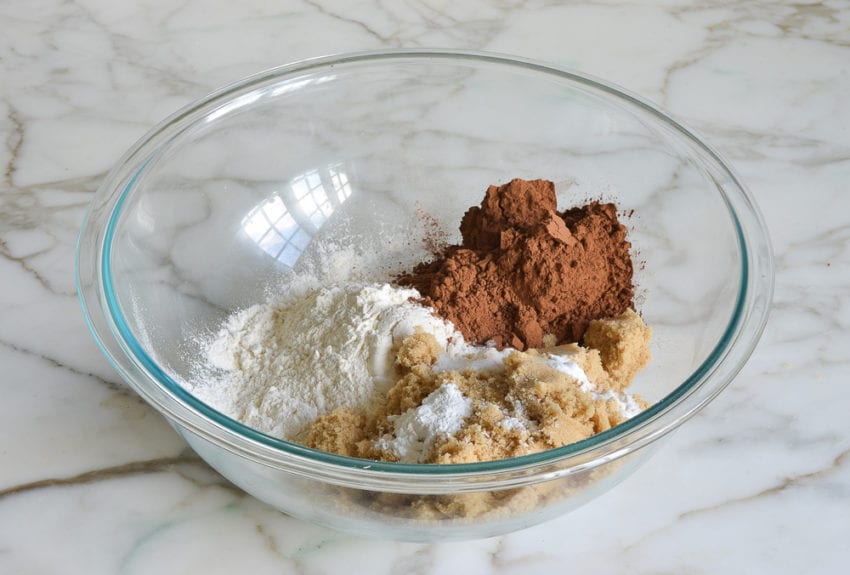
Whisk well and then rub the mixture through your fingers to break up any lumps of brown sugar.
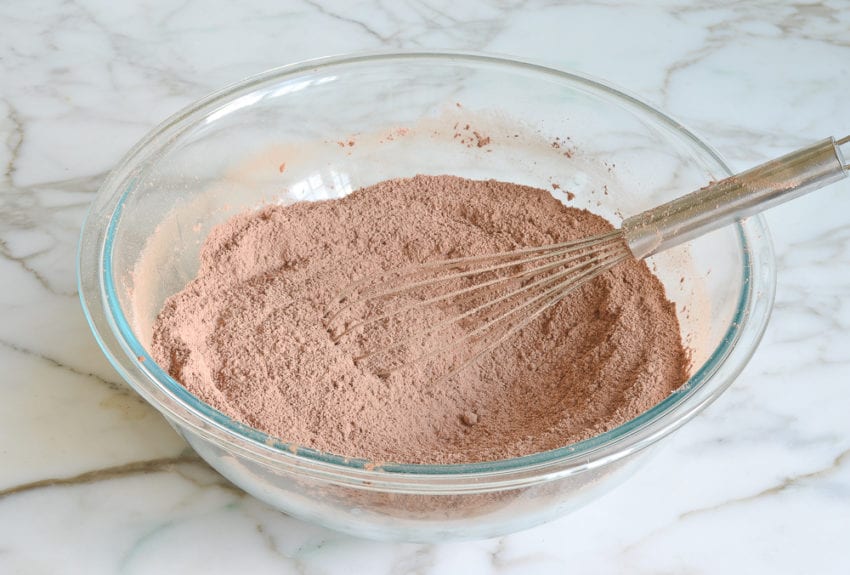
To the dry ingredients, add 3/4 cup of the chocolate chips, the buttermilk-egg mixture, and the melted butter.
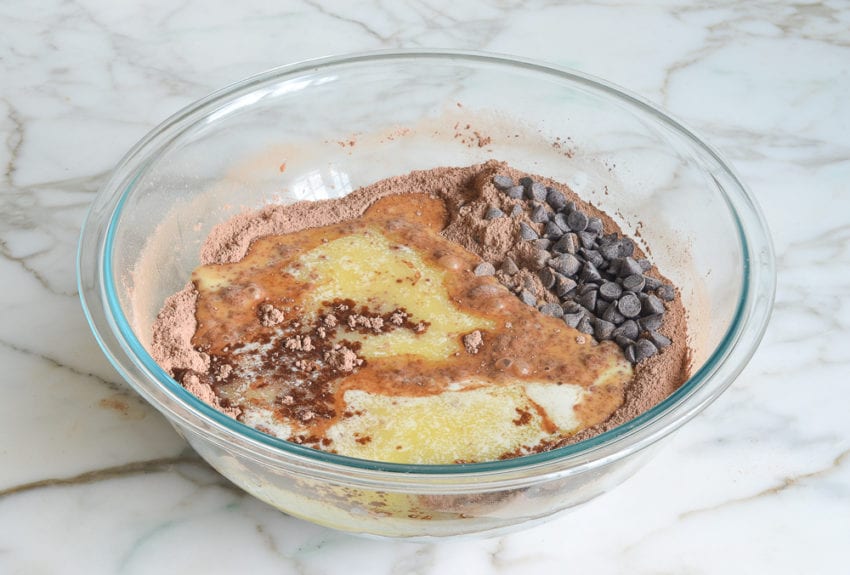
Using a rubber spatula or wooden spoon, mix until just combined.
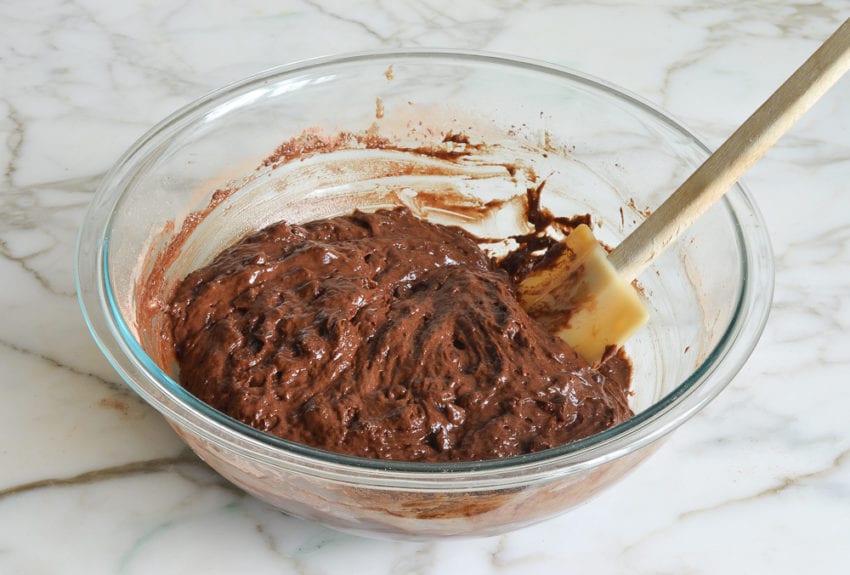
Using an ice cream scoop or two spoons, fill the muffin cups to the brim with batter.
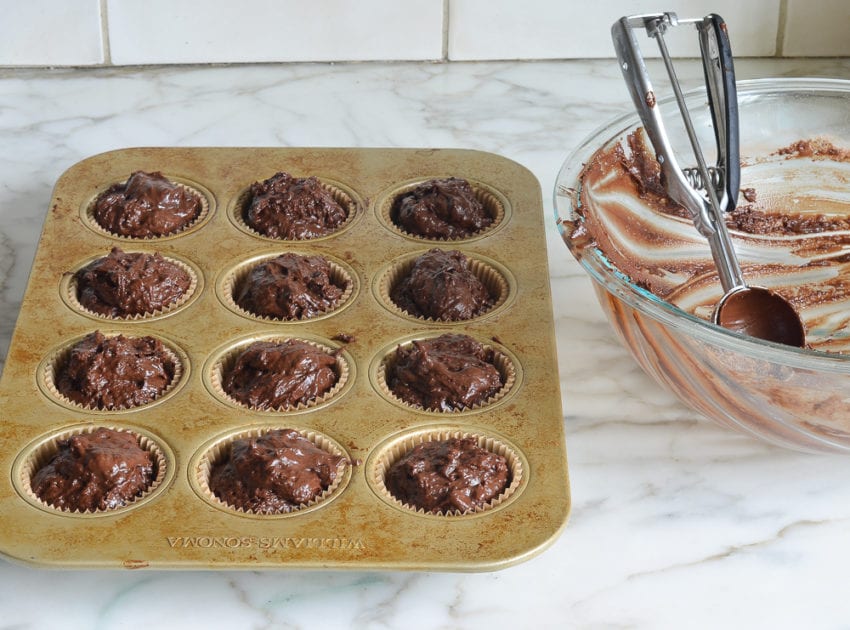
Distribute the remaining 1/4 cup of chocolate chips evenly over the muffin tops, pressing them lightly into the batter.
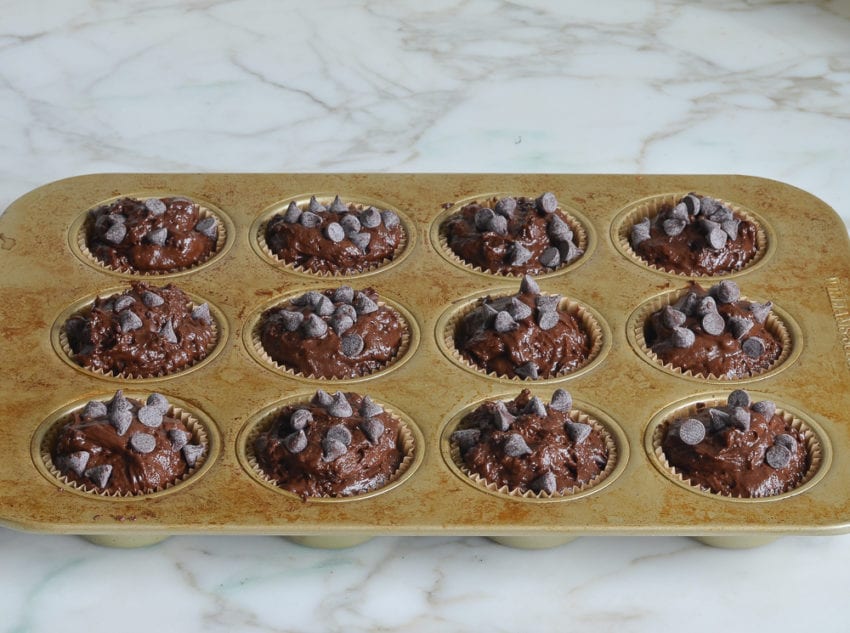
Place in the oven and bake for 8 minutes at 425°F (220°C), then turn the oven down to 350°F (175°C) and bake for about 12 minutes more, or until a toothpick inserted in the center of a muffin comes out clean (check a few spots as the melted chocolate chips will make the tester look wet). Transfer to a wire rack and let cool for about 5 minutes before removing the muffins from the pan; cool on a rack.
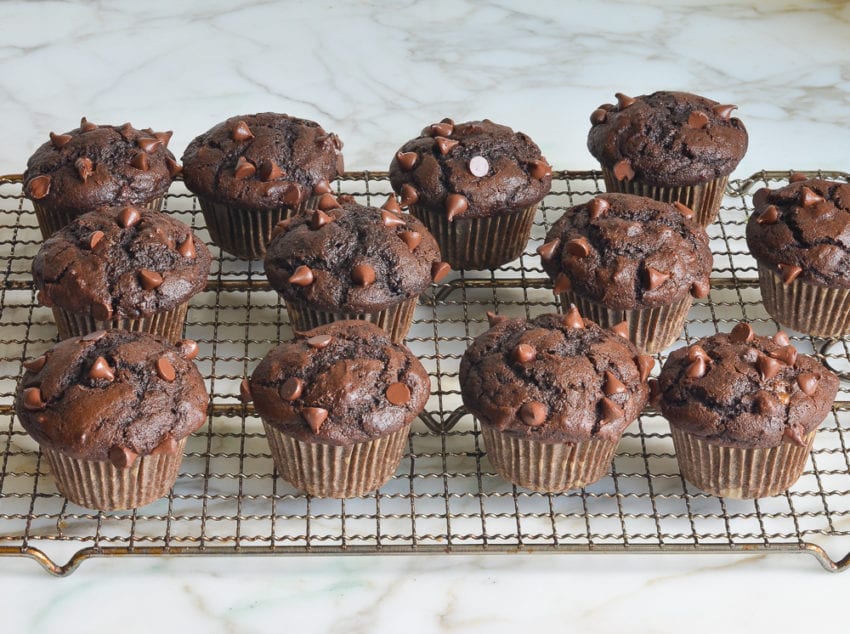
Enjoy!
Frequently Asked Questions
Natural cocoa powder is acidic and has a more intense, slightly bitter flavor, while Dutch process cocoa powder is treated with an alkali to neutralize acidity, resulting in a milder taste and darker color. Dutch process cocoa powder is not used quite as often but if you bake for chocolate lovers, it’s good to have in your pantry for recipes like flourless chocolate cake or this double chocolate skillet cookie. Dutch process and natural cocoa powder are not always interchangeable in recipes due to differences in acidity and leavening properties, so, for optimal results, it’s important to use the type specified in the recipe.
Muffins are always best enjoyed fresh on the same day, but they’ll keep nicely in an airtight container for up to 3 days.
Sure! The muffins can be frozen in an airtight container or sealable plastic bag for up to 3 months. Thaw for 3 – 4 hours on the countertop before serving. To reheat, wrap individual muffins in aluminum foil and place in a 350°F-oven until warm.

You May Also Like
Chocolate Muffins
Calling all chocoholics! These tender chocolate muffins with a double hit of chocolate make a delicious breakfast or after-school snack.
Ingredients
- 2 large eggs
- 1 cup low fat buttermilk (see note)
- 2 teaspoons vanilla extract
- 1¾ cups all-purpose flour, spooned into measuring cup and leveled-off
- ⅔ cup natural unsweetened cocoa powder, such as Hershey's
- 1¼ cups light brown sugar, packed (be sure it is fresh with no hard lumps)
- 1 teaspoon baking powder
- 1 teaspoon baking soda
- ½ teaspoon salt
- 1 cup semi-sweet or bittersweet chocolate chips
- 1 stick (½ cup) unsalted butter, melted and slightly cooled
Instructions
- Position a rack in the center of the oven and preheat to 425°F. Line a standard 12-cup muffin pan with paper liners.
- In a large measuring cup or bowl, whisk together the eggs, buttermilk, and vanilla extract.
- In another large bowl, whisk together the flour, cocoa powder, brown sugar, baking powder, baking soda, and salt. Rub the mixture through your fingers to break up any lumps of brown sugar.
- To the dry ingredients, add ¾ cup of the chocolate chips, the buttermilk-egg mixture, and the melted butter. Using a rubber spatula or wooden spoon, mix until until just combined.
- Using an ice cream scoop or two spoons, fill the muffin cups to the brim with batter. Distribute the remaining ¼ cup of chocolate chips evenly over the muffin tops, pressing them lightly into the batter. Place in the oven and bake for 8 minutes, then turn the oven down to 350°F and bake for about 12 minutes more, or until a toothpick inserted in the center of a muffin comes out clean (check a few spots as the melted chocolate chips will make the tester look wet). Transfer to a wire rack and let cool for about 5 minutes before removing the muffins from the pan; cool on a rack.
- Note: If you’d like to make your own buttermilk, check out the easy method here.
- Freezer-Friendly Instructions: The muffins can be frozen in an airtight container or sealable plastic bag for up to 3 months. Thaw for 3 – 4 hours on the countertop before serving. To reheat, wrap individual muffins in aluminum foil and place in a preheated 350°F oven until warm.
Nutrition Information
Powered by ![]()
- Serving size: 1 muffin
- Calories: 324
- Fat: 14 g
- Saturated fat: 8 g
- Carbohydrates: 50 g
- Sugar: 31 g
- Fiber: 3 g
- Protein: 5 g
- Sodium: 293 mg
- Cholesterol: 52 mg
This website is written and produced for informational purposes only. I am not a certified nutritionist and the nutritional data on this site has not been evaluated or approved by a nutritionist or the Food and Drug Administration. Nutritional information is offered as a courtesy and should not be construed as a guarantee. The data is calculated through an online nutritional calculator, Edamam.com. Although I do my best to provide accurate nutritional information, these figures should be considered estimates only. Varying factors such as product types or brands purchased, natural fluctuations in fresh produce, and the way ingredients are processed change the effective nutritional information in any given recipe. Furthermore, different online calculators provide different results depending on their own nutrition fact sources and algorithms. To obtain the most accurate nutritional information in a given recipe, you should calculate the nutritional information with the actual ingredients used in your recipe, using your preferred nutrition calculator.

I love your receipe.. this is my to-go chocolate muffin receipe whenever i have a craving.. but how do you get that nice crispy top on the muffin and can i rest the batter in the fridge and bake them for breakfast the next day instead?
So glad you like the muffins! The tops of these really don’t get crispy. You could try baking them a few minutes longer, but I’d be concerned they may get over baked. And unfortunately, it won’t work to refrigerate the batter as the muffins won’t rise well when you go to bake them. If you’d like, you can mix the dry ingredients in one bowl and the wet in another and then combine them and proceed with the recipe when you’re ready to bake them.
These are delicious. They are easy, baked just fine, and came out of the oven looking like I was running a bakery. They tasted good straight away, but I noted that the flavor was even better the day after. They are good to eat any time of the day. These will definitely be put on repeat. I added all the chocolate chips to the batter before scooping out into the baking pan, and, I added roughly 1 tbsp of instant espresso to the dry ingredients prior to mixing with the wet ingredients. We have guests coming this weekend, and these will be on the breakfast menu.
Usually chocolate muffins just aren’t that good. You want them to be a brownie but they are not. These are fantastic –moist and chocolatey. And easy!
I didn’t deviate from the recipe or bake temps/time and found these to be quite dry. Because they’re very chocolatey, I’ll try them again but play around with the ingredients (oil, sour cream) to add moisture.
hello,can you please sugest why are the muffins so wet?
Hi Sasha, If they’re really wet, it likely means that they’re underbaked.
Hi, will it be ok if I add all the chocolate chips in the dough and not on top?
I like the way they looked dotted on the top, but it’s perfectly fine to put them all in the batter. Enjoy!
Hi Jenn. Could you explain why you have the first cook time at quite a high temp and then lower it? I made these tonight and while the flavor is delicious, they seem a bit dry. I’m wondering what I did wrong when so many other bakers had success. Thanks for your help.
Hi Alanna, starting the baking at a higher temperature helps to activate the baking powder and baking soda and give them a nice dome. I’m sorry to hear yours came out dry. Dryness is usually caused by measuring the flour incorrectly. Did you use the spoon and level method to measure the flour? Even a few extra ounces can make a big difference. This article/video explains it nicely.
Could these be made into mini cupcakes and if so, what temperature and how long on the baking?
Sure, Gwen – I’d adjust the oven temp to 375°F and start checking after 12-15 min. Enjoy!
These are really tasty! I used gluten free flour( Bob’s red mill 1 to 1) and egg replacer.
Delicious,my grandchildren love them. Just as we do.
I made these today. Tbh I was worried they would be dry…they’re not at all and have a nice flavour. I used 1/2 cup veg oil instead of butter and added 1 tablespoon instant coffee for richness/shelf longevity. Make sure the brown sugar is packed tight when you measure is my tip 🙂